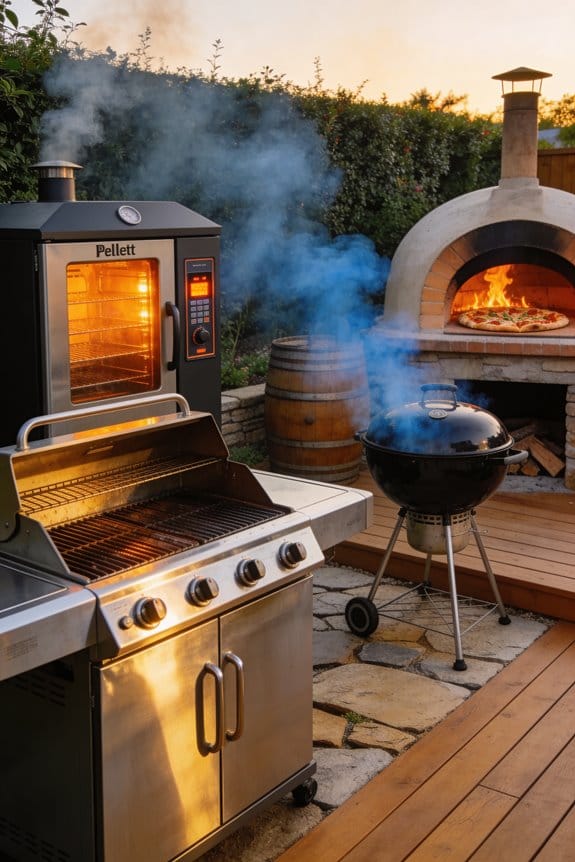
To use your pellet grill as an everyday cooker, first map hot spots by laying white bread across the grates during preheating to identify cooler and hotter zones. Store quality hardwood pellets in airtight containers and verify your hopper’s full before cooking. For searing, crank the temperature to 450°F or higher, dry-brine your proteins beforehand, and sear each side briefly to create a caramelized crust while keeping interiors juicy. After each cook, run a burn-off cycle and brush away debris to maintain longevity. Understanding these fundamentals transforms your smoker into a versatile daily cooking tool.
Key Takeaways
- Map hot spots using white bread during preheat to identify temperature zones for optimal food placement.
- Use high-quality hardwood pellets stored in airtight containers and verify hopper levels before each cook.
- Sear proteins like steaks and burgers at 450°F or higher for one minute per side caramelization.
- Line drip pans with foil and ensure proper ventilation around the grill for easier cleanup.
- Run 30–60 minute burn-off cycles after cooking and brush grates when cool to maintain performance.
Map Pellet Grill Hot Spots to Cook Evenly Every Time
Identifying where your pellet grill heats most intensely is essential for cooking food evenly, and I’ll show you how to do it with a simple test that takes just a few minutes. I place white bread slices across the grates at medium-high temperature during preheating. As the bread toasts, I observe which areas brown faster and darker than others. This bread test reveals my grill’s hot spots through visible browning differences. Once I’ve completed grate mapping, I adjust food placement accordingly, positioning delicate items like fish or chicken breasts on cooler zones. I use the hottest areas for searing steaks or cooking burgers, where intense heat creates the caramelization I want. This straightforward method eliminates guesswork from my cooking routine.
Set Up Your Grill for Daily Cooking Success

Once you’ve mapped your pellet grill’s hot spots, the next step is preparing your grill for consistent, successful cooking every single day. Start by investing in high-quality pure hardwood pellets, which deliver superior flavor compared to blended options. Store your pellets in airtight, dry containers to prevent sawdust formation that can clog your grill’s system. Make sure proper ventilation around your grill’s exterior to allow smoke to disperse safely and maintain peak airflow during operation. Before each cooking session, verify your hopper contains sufficient pellets—never let it run empty mid-cook. Finally, line your drip pan with foil for easier cleanup. These foundational steps establish reliability and consistent results whenever you grill.
Recommended Products

【3-in-1 Multi-Fuel Pizza Oven】Pellet Pizza Oven for authentic wood-fired flavor, or switch seamlessly to BIG HORN Gas/Electric Burner attachments (Sold Separately). Ready in 18–20 min, reaches 887°F for perfect pizzas in 60–90 sec, plus steaks, fish, lamb, burgers, vegetables. Portable and suitable for indoor or outdoor use, rain or shine, all year round
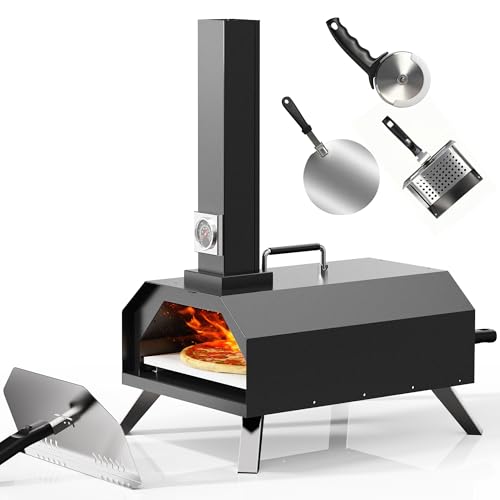
【Wood Pellet Pizza Oven】Our pellet pizza oven uses natural hardwood pellets for a consistent, efficient burn and the ideal smoke-to-heat ratio. This infuses your food with a rich, smoky flavor characteristic of authentic wood-fired cooking. Just preheat for 15 minutes to 350°C (662°F), and you're ready to cook your pizza in a lightning-fast 60 to 90 seconds. For an evenly baked crust, simply rotate the pizza every 15-20 seconds

【KEEP DRY AND FRESH】Rayzi Pellet Storage Container keeps your wood pellets, pet food, and fish feed dry and fresh, ensuring consistent performance. Its versatile features make it an ideal investment for efficient space management, meeting diverse household needs beyond grilling.
Sear Steaks to Restaurant Quality at 450°F

To achieve that perfect brown crust on your steak, I need to crank my pellet grill to 450°F or higher, which creates the intense heat necessary for the Maillard reaction—the chemical process that produces the flavorful, caramelized exterior you find at upscale steakhouses. I start by dry brining my steak several hours before cooking, which seasons the meat deeply and helps develop that restaurant-quality crust. Using the cast iron technique, I preheat a cast iron skillet on the grill’s hottest spot until water sizzles instantly when it touches the surface. Once ready, I add high smoke point oil and sear each steak side for just one minute. This method delivers a perfectly caramelized exterior while maintaining a juicy, tender interior.
Recommended Products

CHARCOAL BBQ GRILL FOR OUTDOOR COOKING - KUDU Portable Charcoal Grills are the best outdoor grill for cooking with lump charcoal, briquette, seasoned firewood, or smoking wood
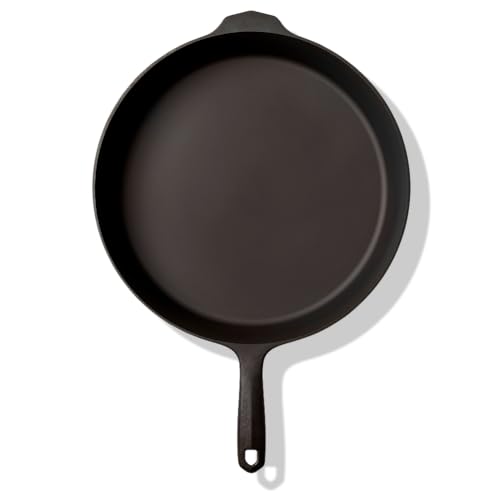
SMOOTHER & LIGHTER: Field Company cast iron is machine polished using modern methods to replicate the lighter, smoother cast iron pieces produced during the golden age of vintage American cast iron. We dialed in the perfect weight to easily maneuver around the stovetop, oven, and grill, while retaining the heft needed for high-heat searing.

Enameled cast iron delivers superior heat distribution and retention
Reverse Sear on Your Pellet Grill for Perfect Caramelization

While the traditional sear method locks in flavor quickly at high heat, the reverse sear technique accomplishes something different by flipping the cooking process entirely. I start by smoking your steak on low smoke for 30 minutes to an hour, which infuses it with deep flavor throughout the meat. Once the internal temperature reaches about 110°F, I remove the steak and let it rest briefly. Then I crank the pellet grill to 450°F or higher and sear each side for one minute, creating that restaurant-quality caramelized crust. This method delivers smoky tenderness with an exceptional exterior, combining both low smoke benefits and high heat searing in one perfect cook.
Recommended Products

Time & Labor Saving: The pellet grill hopper assembly adopts an automatic delivery system, which can eliminate the need to add fuel frequently and manually, making it continuous and uninterrupted. Also, dual RTD sensors make temperature control and auto-ignition easier

【Automated Fuel Delivery System】Never manually add pellets again! Our smart auto-feed technology ensures continuous, uninterrupted fuel supply for hassle-free grilling sessions. Enjoy longer cooks without constant monitoring.

Cook Everyday Proteins: Steaks, Burgers, and Pulled Pork

Your pellet grill excels at cooking the proteins you prepare most often, from quick weeknight meals to weekend barbecue favorites. For steaks and burgers, crank your grill to 450°F or higher, then sear each side for about one minute to develop that caramelized crust. Wings cook beautifully at higher temperatures too, giving you crispy skin while keeping meat juicy inside. When planning weeknight dinners, remember that tri-tip requires similar high-heat treatment for best results. For meal prep, pulled pork showcases your grill’s smoking capabilities—smoke it low initially, then finish in a crockpot with beer or cider for tender, flavorful results. This versatility means you’re using one appliance for multiple cooking styles throughout your week.
Recommended Products

ZLINE Legacy Series - The Legacy Professional Range Series represents the foundation for ZLINE’s family-focused mission of attainable luxury

ISLAND FEATURES - The MAi805 Mont Alpi 805 original series 94" premium outdoor kitchen island with grill arrives almost fully assembled (modular attachment required) and is made from 304 stainless steel. This material blends seamlessly to the white granite countertop surfaces on each side of the 44" stainless steel center grill with storage cabinets directly below with the left side also featuring a roll-out propane tank holder. You also get large soft closing drawers right underneath your grill for extra storage and easy access, plus a fully covered back with vents. Your outdoor kitchen also comes with gliding castor wheels for smooth and easy-to-maneuver movement and increased stability.

6 HIGH-OUTPUT BURNERS WITH 115000 BTU TOTAL POWER - Commercial-grade stainless steel cooking grates across 6 full-size burners deliver intense, even heat for grilling large cuts, vegetables, and everything in between with consistent results every time.
Maintenance That Keeps Your Grill Running Smoothly
Regular maintenance keeps your pellet grill functioning reliably and extends its lifespan, which means you’ll spend less time troubleshooting and more time cooking. After each cook, run a burn-off cycle at 400°F or higher for 30 to 60 minutes to clear debris and ash buildup. Once the grill cools completely, brush away remaining particles from the grates and interior surfaces.
Perform grill lubrication on moving parts quarterly to prevent rust and make certain smooth operation. Check your hopper inspection regularly, removing any sawdust or moisture that accumulates at the bottom. Store your pellets in an airtight, dry container to maintain quality and prevent degradation.
These straightforward steps protect your investment and guarantee consistent cooking performance throughout the year.
Recommended Products

AWARD-WINNING AUTHENTIC BBQ PERFORMANCE: Recognized as the 2025 Men’s Journal Grilling Awards Best Overall Smoker for delivering consistent, competition-worthy BBQ results

𝗗𝘂𝗮𝗹 𝗛𝗲𝗮𝘁𝗶𝗻𝗴 𝗦𝘆𝘀𝘁𝗲𝗺 𝗙𝗹𝗲𝘅𝗶𝗯𝗶𝗹𝗶𝘁𝘆: Choose indirect heating (180-450°F) for wood-fired smoking or direct flame searing (750°F). Our 600D wood pellet grill surpasses conventional units, achieving restaurant-quality searing with exceptional versatility.(IMPORTANT NOTICE: Please keep the lid open when you're using direct flame searing)

For use with cool to warm fine ash, not hot ash or coals
Frequently Asked Questions
What Type of Pellets Should I Use, and How Do I Store Them Properly?
I’d recommend pure hardwood blends—they’re like flavor gold for your grill. Store them in an airtight container in a dry place to prevent sawdust formation and keep that quality intact for peak smoking results.
How Long Should I Preheat My Pellet Grill Before Cooking?
I’d recommend preheating for 10-20 minutes to your desired temperature, just like an oven. This preheat timing guarantees proper temperature stabilization before you start cooking, giving you consistent results every time.
Can I Use My Pellet Grill for Baking and Roasting Like an Oven?
Yes, you can absolutely use your pellet grill for convection baking and roasting. I’ve found it works like a regular oven—just set your roasting temperatures between 225°F-250°F and let the convection heat circulate evenly around your food.
What’s the Difference Between Smoke Flavor at Low Versus High Temperatures?
I’ve noticed my pellet grill’s smoke output mirrors a dimmer switch—intense at low settings, fading as heat climbs. Low heat produces long smoke for deep flavor; high heat delivers only burst smoke, making temperature choice critical for your desired taste profile.
How Do I Prevent Delicate Foods Like Fish From Drying Out on the Grill?
I’d place fish on the upper rack using indirect heat to avoid intense radiant warmth. I’ll baste often with butter or oil, wrap it in foil, and monitor internal temperature closely—you’ll prevent drying every time.