I’ll smoke ribs low and slow by maintaining 225°F, which lets the meat break down gradually without drying out. I use the 3-2-1 method: three hours uncovered to build bark, two hours wrapped in foil with butter to trap steam, and one hour unwrapped with sauce. Throughout cooking, I baste every 45–60 minutes with apple cider and butter, spritz with apple juice every 30 minutes after the bark forms, and rest the ribs 15 minutes before serving. These moisture-retention techniques work together, and there’s much more to discover about perfecting each phase.
Key Takeaways
- Maintain smoker temperature at 225°F for optimal moisture retention and controlled collagen breakdown into gelatin.
- Wrap ribs tightly in foil with butter during the second phase of 3-2-1 method to trap steam.
- Baste ribs every 45–60 minutes after the first 1.5 hours using apple cider and melted butter.
- Spritz with apple juice every 30 minutes after bark formation to prevent surface dehydration.
- Rest ribs approximately 15 minutes post-cooking to allow carryover cooking and redistribute internal juices evenly.
Start With the Right Rib Prep and Dry Rub
Before you ever light your smoker, you’ll want to prepare your ribs properly, because the foundation you create now determines how well your final product turns out. Start by patting your ribs dry with paper towels, then trim excess fat and carefully remove the membrane using the paper towel for better grip. Next, apply a thin layer of binder—mustard works excellently, though olive oil serves as an effective binder alternative. Generously coat all sides with your dry rub containing salt, pepper, chili powder, onion powder, and garlic powder. This preparation creates the bark, that desirable crusty exterior. Allow your seasoned ribs some meat resting time before smoking, which helps flavors penetrate deeper into the meat.
Why 225°F Is the Sweet Spot for Tender Ribs
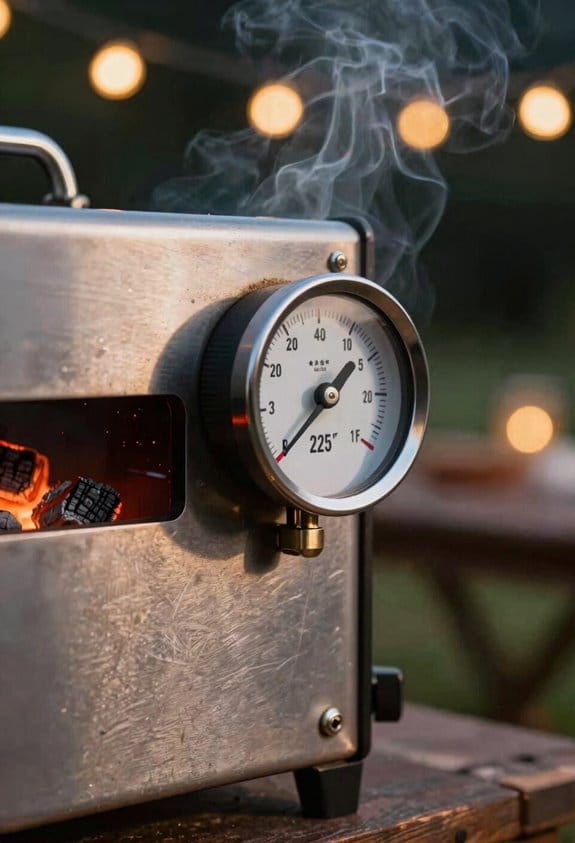
Once you’ve prepared your ribs with a flavorful dry rub, maintaining the right temperature becomes essential for achieving that tender, juicy result you’re after. I’ve found that 225°F represents the ideal Maillard reaction temperature, where the rub’s spices caramelize without burning, creating that desirable bark. At this temperature, collagen in the meat breaks down gradually into gelatin, ensuring tenderness throughout the cooking process.
Lower temperatures take too long, risking moisture loss, while higher heat dries out the exterior before the interior becomes tender. The 225°F sweet spot balances Moisture Retention with flavor development, allowing you to smoke ribs for three hours during the first phase of the 3-2-1 method. This controlled approach guarantees consistent results across different rib types.
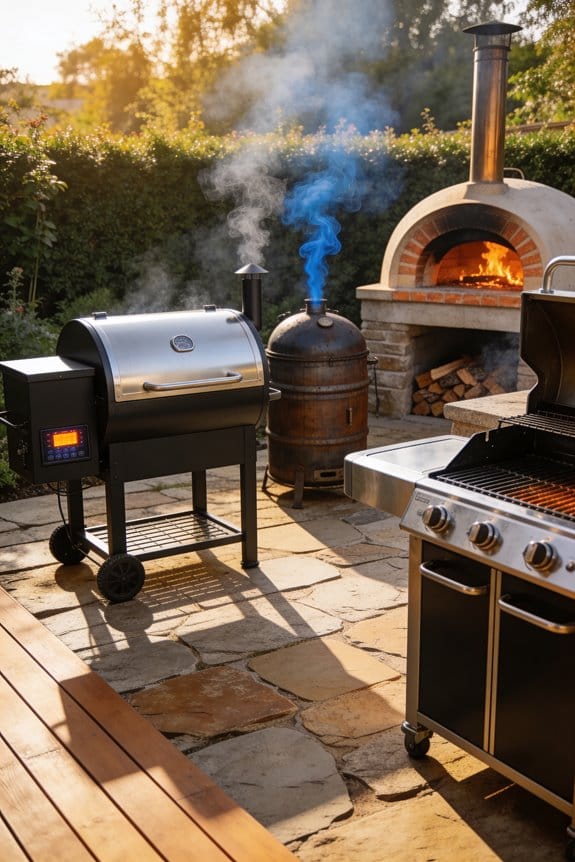
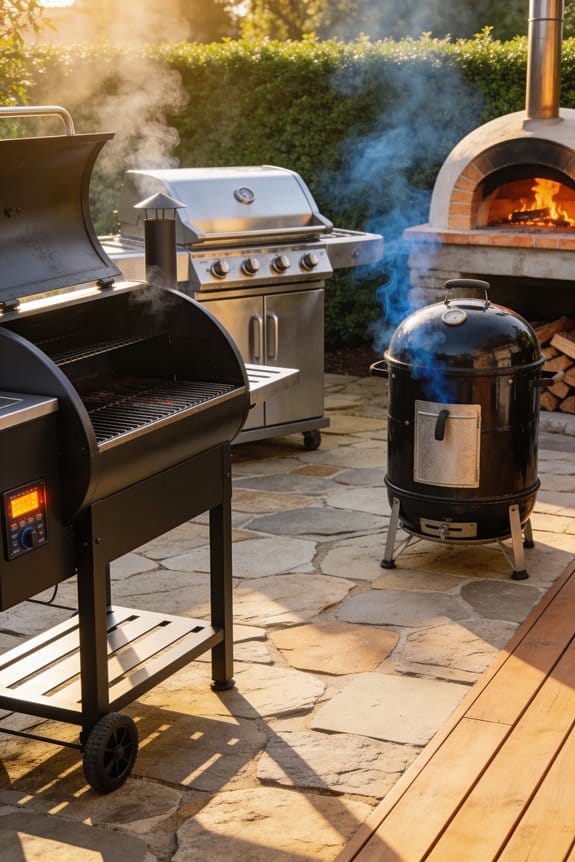
Set Up Your Smoker for Consistent Heat Control
Since maintaining 225°F throughout your smoking session directly determines whether your ribs turn out tender or dry, I’ve learned that proper smoker setup is just as important as the temperature itself. Start by positioning your smoker in a sheltered location, away from wind, which disrupts heat consistency. I use insulation blankets around my smoker during cooler months to maintain stable temperatures. Next, focus on airflow calibration by adjusting your vents carefully—typically, I keep the bottom damper fully open and the top damper partially closed for steady heat flow. This balanced airflow prevents temperature spikes and drops. Finally, arrange your charcoal using the snake method, which burns slowly and evenly. These foundational steps create the controlled environment your ribs need to cook perfectly without drying out.
The 3-2-1 Method: Your Smoking Roadmap
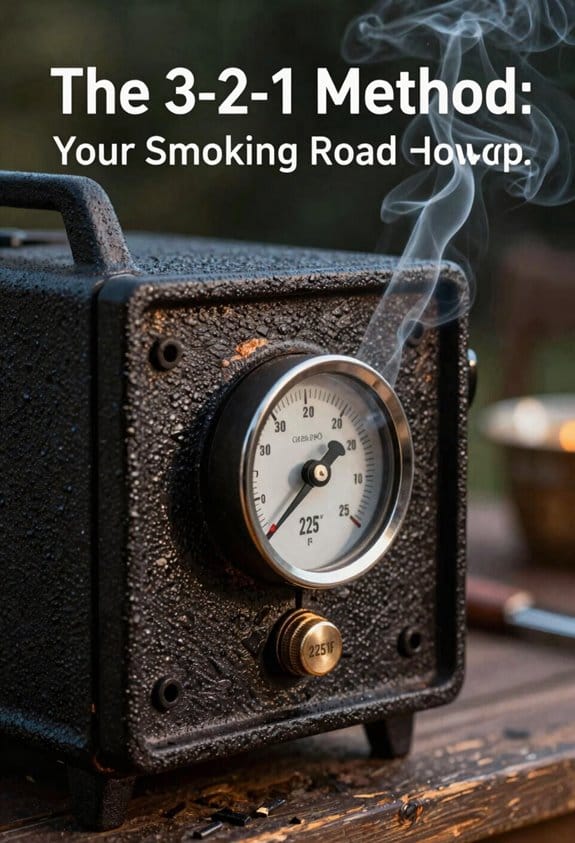
With your smoker now holding steady heat, you’re ready to follow a structured cooking plan that’ll guide your ribs from raw to perfectly tender. The 3-2-1 method divides your smoking into three phases, each serving a specific purpose. During the first three hours, you’ll smoke your ribs uncovered at 225-250°F, building that desirable bark through wood selection and initial smoke exposure. The next two hours involve wrapping your ribs tightly in foil, which traps moisture and accelerates tenderness. Your final hour unwrapped allows flavor layering through sauce application while maintaining texture. This systematic approach removes guesswork, ensuring consistent results. You’ll finish with an internal temperature around 185-190°F, producing ribs that are tender without falling off the bone.
Phase 1: Build Bark for the First 3 Hours
Now that your smoker’s maintaining the right temperature, the first three hours are all about building bark, which is that flavorful, textured crust that forms on the ribs’ surface. During this phase, keep the lid closed to preserve heat and smoke concentration. Your wood pairing of apple and hickory creates distinct flavors, with apple offering sweetness and hickory providing deeper, smoky notes. The smoke ring, that pink layer beneath the surface, develops during these initial hours from smoke exposure. Maintain your temperature at 225-250°F without opening the lid frequently. This patience allows the dry rub to bond with the meat, creating that desirable bark texture. Resist the urge to spritz or baste yet; you’re building a foundation for tender ribs.
Phase 2: Wrap and Baste for Tenderness
After your ribs have developed that desirable bark during the first three hours, you’ll move into Phase 2, where wrapping and basting become your primary focus for achieving tender, juicy meat. During this two-hour phase, you’ll wrap your ribs tightly in foil packets, which traps steam and accelerates the tenderizing process. Before sealing the foil, apply a butter basting mixture inside each packet to infuse flavor and moisture directly into the meat. The foil barrier maintains internal humidity while the butter penetrates the ribs, breaking down connective tissues and creating that desirable texture. This phase prevents the exterior from drying out while ensuring the interior becomes exceptionally tender, setting up your ribs perfectly for the final smoking stage.
Phase 3: Finish With Sauce and Heat Push
Your ribs have now spent two hours wrapped in foil, developing incredible tenderness while the steam and butter worked their magic on the meat inside. Now comes the final push that’ll transform them into competition-level barbecue.
Unwrap your ribs carefully, letting the steam escape away from your face. You’ll notice they’ve pulled back from the bones slightly—that’s exactly what you want. Place them back on the grates, bone-side down, and increase your smoker temperature for a heat surge to around 250°F. This temperature boost helps firm up the exterior while maintaining moisture.
During this final hour, apply your sauce glazing every fifteen minutes, building up layers of caramelized flavor. The combination of direct heat and sauce creates that signature glossy finish that makes ribs irresistible.
Is It Done? The Bend Test and Temperature Check
Determining whether I’ve cooked my ribs to perfection requires two reliable methods: the bend test and an internal temperature check. For the bend test, I apply gentle finger pressure to the thickest part of the meat. If the ribs bend easily and nearly break apart, they’re done. If they resist, they need more time. For temperature verification, I use a meat thermometer with proper probe placement between the bones, avoiding contact with bone itself. I’m aiming for an internal temperature of 185-190°F. These two methods work together, confirming that my ribs have reached the ideal tenderness without becoming mushy or dry. Checking both guarantees consistent, delicious results every time.
Rest and Slice: The Final Step
Once I’ve confirmed that my ribs have reached the perfect temperature and pass the bend test, I need to resist the urge to slice into them immediately. Letting ribs rest for about 15 minutes allows carryover resting to occur, which means the heat continues cooking the meat slightly while the juices redistribute throughout. This resting period guarantees that when I cut the ribs, the moisture stays locked inside rather than running onto the cutting board. For precise slicing, I use a sharp knife and cut between the bones, applying gentle pressure. Slicing against the grain creates more tender pieces. Taking these final steps transforms perfectly smoked ribs into an exceptional meal that maintains its moisture and flavor from start to finish.
Why Your Ribs Dried Out (And How to Fix It)
If you’ve pulled your ribs off the smoker only to find them dry and tough, several common mistakes during the cooking process are likely responsible. Overcooking causes the meat to lose moisture and become unappetizing. I’ve found that maintaining consistent temperature between 225-250°F prevents this problem. Low smoke impact also contributes to dry ribs, since inadequate smoke flavor often masks insufficient moisture management. You should baste your ribs every 45-60 minutes after the initial 1.5 hours with apple cider and melted butter. Additionally, wrapping your ribs tightly in foil during the second phase of the 3-2-1 method traps steam, preserving tenderness. Spritzing with apple juice every 30 minutes post-bark formation further prevents dryness. These techniques work together to deliver moist, flavorful results.
Frequently Asked Questions
What Type of Ribs Works Best for Low and Slow Smoking—Baby Back, Spare, or St. Louis?
I’d recommend spare ribs for low and slow smoking because they’ve got more fat and connective tissue than baby back ribs, making them forgiving and incredibly tender when you’re cooking low and slow.
Can I Smoke Ribs Overnight, and How Should I Adjust Timing and Temperature for Extended Cooking?
I’d smoke ribs overnight at 180°F using smoke mode with dampers closed. You’ll need overnight planning for consistency. My resting strategy involves wrapping them post-cook, letting carryover heat finish tenderness without drying them out.
What’s the Ideal Wood Combination for Smoke Flavor, and Should I Soak Wood Chips Beforehand?
I’d recommend apple and hickory—fruit woods like apple give you that cocktail smoking sophistication. Skip soaking; dry chips smoke better. They’ll ignite faster and produce cleaner flavor without excess steam dampening your bark.
How Do I Know if My Smoker Is Maintaining Consistent Temperature Throughout the Entire Cooking Process?
I’ll use temperature probes at grate level to monitor consistency—they’re your thermometer’s silent sentinel. I also watch air flow through dampers, adjusting them to maintain that steady 225-250°F sweet spot you’re chasing.
Should I Remove the Membrane From Ribs Before or After Applying the Dry Rub?
You’ll want to remove the membrane before applying your dry rub. I’d recommend peeling it off first for better rub adhesion. This guarantees your seasoning penetrates the meat properly and creates that flavorful bark you’re after.