I’ll season my new pizza oven gradually over several days to prevent cracking from thermal shock. Day one involves four hours of small fires below 100°C, allowing moisture to escape slowly. On day two, I’ll progress from 100°C to 500°C in controlled stages, using kiln-dried hardwood with moisture content below 20%. After reaching 500°C, I’ll continue heating toward 900°F, repeating the cure cycle up to five times for stone ovens. Once seasoned, I’ll map hotspots with a temperature gun and maintain the oven with seasonal care, revealing performance nuances through consistent use.
Key Takeaways
- Cure gradually over multiple days with controlled heat progression, starting below 100°C to prevent thermal shock and cracking.
- Use kiln-dried hardwood with moisture content below 20%, avoiding treated wood, softwood, and chemical accelerants for clean burns.
- Monitor internal temperatures with a thermometer, advancing from 100°C to 500°C across sessions before reaching optimal 480°C cooking temperature.
- Map oven floor hotspots with a temperature gun to identify the sweet spot and position foods for consistent cooking results.
- Preserve the natural patina by avoiding interior scraping, and store seasonally under a weather-resistant tarp with proper ventilation.
Why Curing Prevents Cracking and Damage
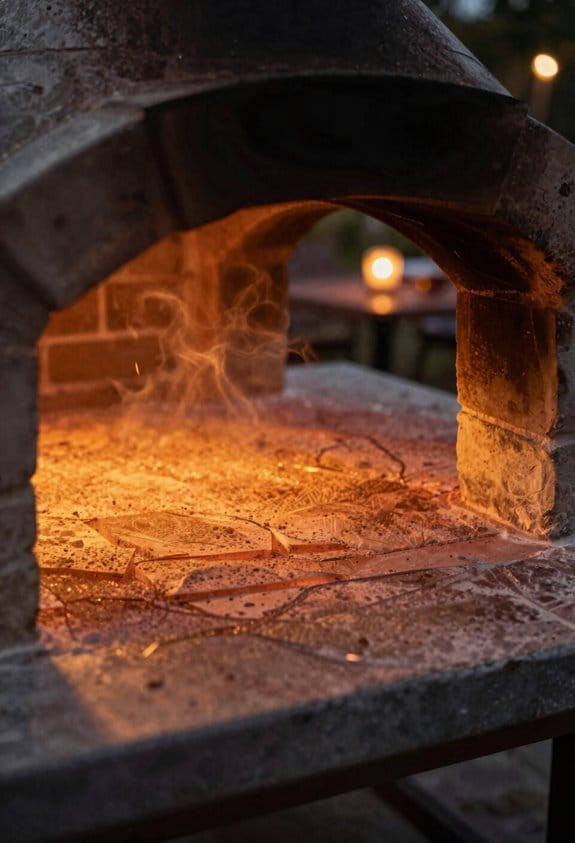
When you first build or purchase an outdoor pizza oven, you might notice that the clay and stones need special preparation before you can start cooking, which is where curing comes in. I’ll explain why this process matters so much.
Curing gradually dries moisture from your oven’s clay and stones, preventing thermal shock damage. During cooking, intense heat causes thermal expansion, where materials expand rapidly. If moisture remains trapped inside, steam builds up and escapes suddenly, causing cracks. Additionally, moisture migration—the movement of water through materials—can create weak points that fail under temperature changes.
Gather the Right Wood and Fuel Before Starting

Before you light your first fire, I’ll walk you through gathering the right wood and fuel, since what you burn directly affects how well your oven cures and performs. You’ll want kiln-dried hardwood like oak, ash, or beech for best results. These woods produce less ash and burn hotter than softwood. Check moisture content using a moisture meter—it should read below 20 percent. For sustainable fuel and proper storage solutions, stack your seasoned wood in a covered, dry location with airflow underneath. Start with smaller logs measuring 30 centimeters long and 4-6 centimeters in diameter. Avoid treated wood, softwood kindling for main fires, white firelighters, and lighter fluid, as these release harmful chemicals and fumes that damage your oven’s interior.
Day 1: Four Hours of Small Fires Under 100°C
Start your curing process by lighting small fires that’ll gradually warm your oven to no more than 100°C on day one, keeping the entire process to four hours total. This low temperature approach prevents thermal shock to your clay and stones. I recommend lighting small fires using kiln-dried softwood kindling, which provides gentle heat without excessive smoke management concerns.
During this phase, moisture evaporation occurs slowly and steadily from deep within your oven’s structure. Keep your door and flue open throughout, allowing gradual venting that prevents pressure buildup. Monitor temperatures using a digital or laser thermometer, ensuring you don’t exceed 100°C. Allow your oven to cool completely between each firing session. This methodical approach mirrors an athlete’s warm-up routine, preparing your oven for future high-temperature cooking.
Day 2: Gradual Progression From 100°C to 500°C
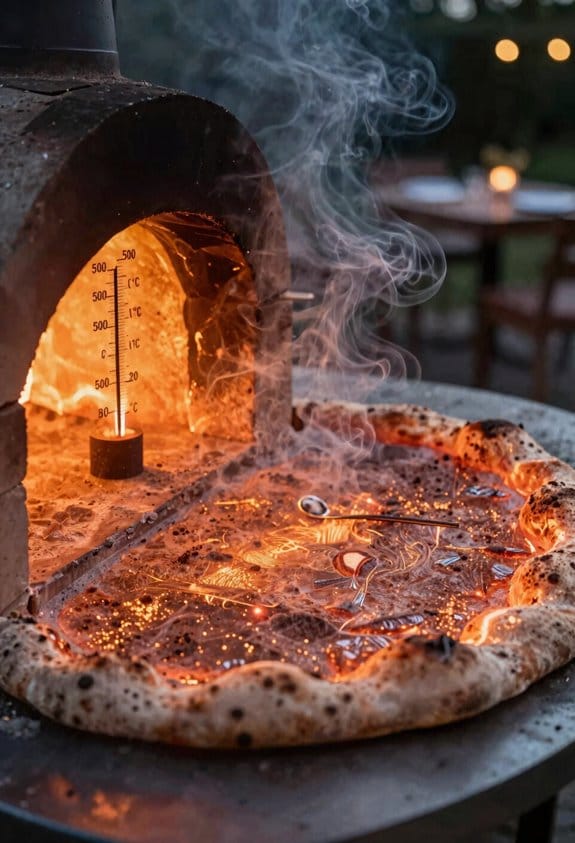
As your oven completes its first day of curing, you’re ready to move into day two, which involves a more aggressive heating schedule that takes your oven from 100°C to 500°C. This progression requires careful thermal ramping to allow gradual stone expansion without causing damage. You’ll maintain 100°C for two hours, then increase to 200°C for two hours. Continue advancing to 300°C for two hours, followed by 400°C for thirty minutes. Finally, hold your oven at 500°C for thirty minutes. Throughout this process, use logs measuring thirty centimeters long with four to six centimeter diameters. These dimensions optimize airflow and heat distribution, ensuring even warming. Monitor temperatures continuously using a digital or laser thermometer to maintain precise control throughout day two’s demanding schedule.
From 500°C to 900°F: Completing the Cure
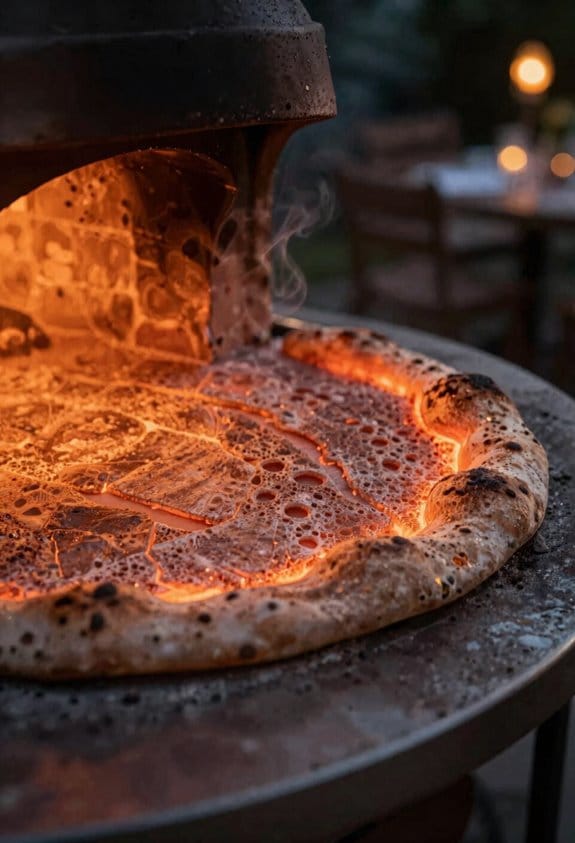
With your oven now stable at 500°C, you’re ready to push toward the final temperature target of 900°F (approximately 480°C), which marks the completion of the curing process. During this thermal ramping phase, increase your fire size gradually over the next few hours. Continue monitoring temperatures with your temperature gun, aiming for the sweet spot around 800°F. This steady heating prevents thermal shock to your oven’s materials. You’ll notice patina development on your stone surfaces—a darkening or discoloration that indicates proper seasoning, not damage. Once you’ve reached 900°F, maintain that temperature for several hours. For all-stone ovens, you may repeat this entire curing process up to five times, ensuring complete durability and longevity for years of reliable cooking ahead.
Find Your Oven’s Sweet Spot for Cooking
Now that you’ve completed the curing process and your oven has reached its maximum temperature, finding the right cooking temperature becomes your next priority. I recommend using a temperature gun to identify your oven’s sweet spot, typically around 800°F for most cooking tasks. Through temperature mapping, you’ll discover floor hotspots where heat concentrates most intensely. These zones vary depending on your oven’s design and construction materials. I suggest testing different areas near the fire and farther away to understand heat distribution patterns. Once you’ve mapped these hotspots, you can position foods strategically for optimal cooking results. This methodical approach guarantees consistent, delicious outcomes whether you’re baking bread or cooking pizza.
Maintain Your Seasoned Pizza Oven Year-Round
Once you’ve identified your oven’s hotspots and mastered the cooking temperatures, I’d encourage you to shift your focus toward preserving that seasoned surface you’ve worked so hard to develop. Year-round maintenance requires attention to seasonal storage and humidity control, which protect your oven from weather damage and cracking.
During off-seasons, cover your oven with a weather-resistant tarp to shield it from rain and snow. Inside, maintain consistent humidity levels by ensuring proper ventilation around the structure. Avoid storing materials that trap moisture against the oven’s exterior.
Before winter storage, allow your oven to cool completely after the final fire. Clean the interior by letting natural patina buildup remain rather than scraping surfaces. This protective layer prevents deterioration, ensuring your oven performs reliably for years ahead.
Frequently Asked Questions
How Many Times Should I Repeat the Curing Process for an All-Stone Pizza Oven?
You’ll want to repeat the curing process up to five times for your all-stone oven. I recommend these repeat cycles because they assure thorough moisture removal from the stone, preventing cracking and guaranteeing peak durability.
What Temperature Should the Oven Reach Before I Can Cook Food on It?
I’d say your oven’s like a fine athlete warming up—you’ll want it reaching around 900°F before cooking. That’s your ideal temp for food safety and proper heat distribution for delicious results.
Can I Use Softwood for the Main Fires, or Only for Kindling?
You shouldn’t use softwood for main fires—only hardwood. I recommend saving softwood for kindling because the softwood debate centers on excessive smoke flavor and ash production during sustained burning at high temperatures.
What Does the Discoloration on the Stone Mean During the Seasoning Process?
The discoloration you’re seeing isn’t damage—it’s a seasoning patina from mineral leaching and thermal mottling as your oven cures. I’m telling you this happens naturally and indicates your oven’s properly seasoning.
How Much Cheese Should I Add to a 12-14 Inch Pizza?
I’d recommend using 4 ounces of mozzarella maximum for your 12-14 inch pizza. I’ve found that even cheese distribution across the surface works best, preventing heavy spots while ensuring every bite has that perfect melted quality you’re after.