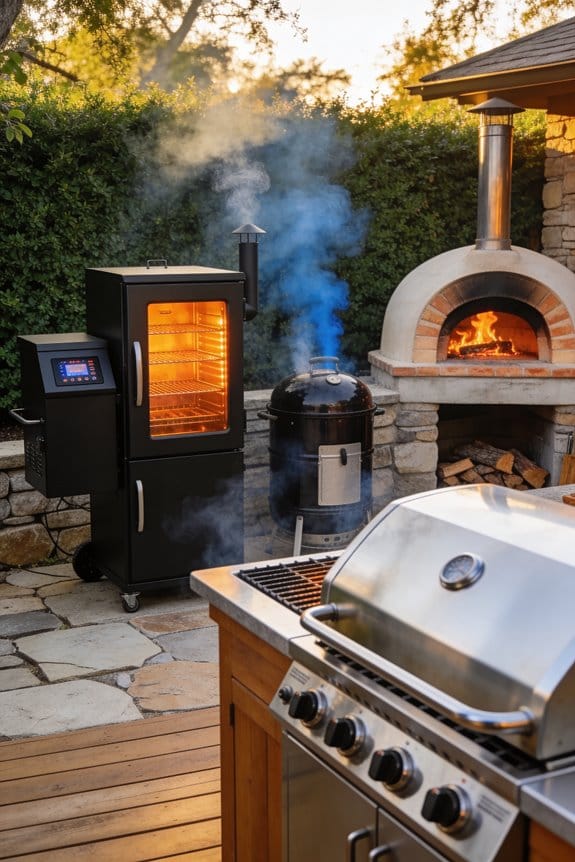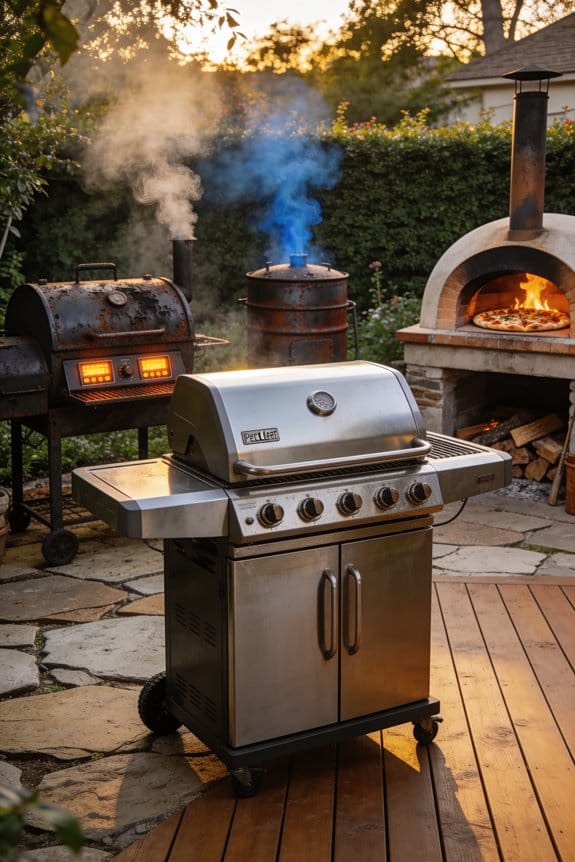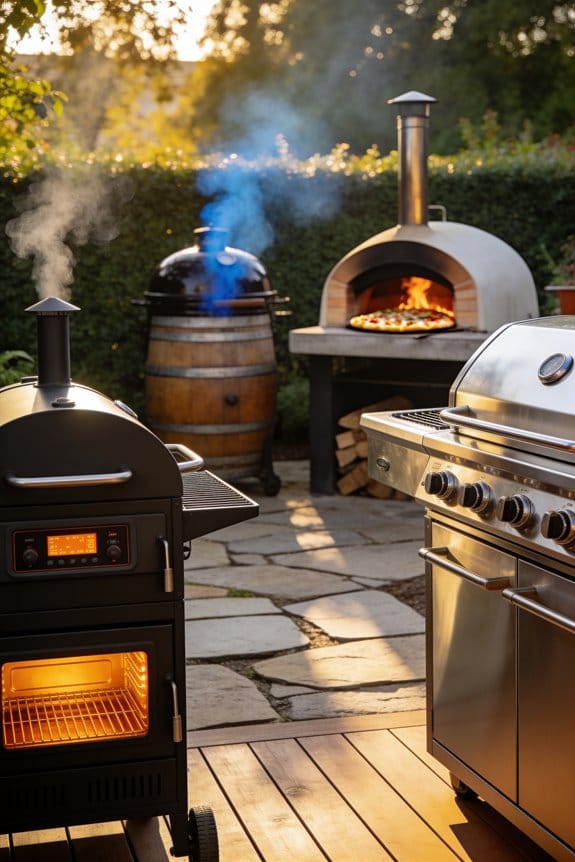


To char vegetables without burning them, I’d set up three heat zones on your grill: hot, medium, and cool. Start with oiled vegetables on the hottest zone for 2–3 minutes to develop that golden char, then flip every 2–3 minutes for even browning. Watch for darkening spots and softening as your cues. If charring gets too dark, move pieces to the cooler zone immediately. Pre-blanching tough vegetables the day before helps them cook evenly. The specific techniques for perfecting this balance reveal themselves through practice.
Key Takeaways
- Set up distinct temperature zones (hot, medium, cool) and use a grill thermometer to maintain precise heat control.
- Oil vegetables lightly, season with salt and pepper, then sear on the hottest zone (375–400°F) for 2–3 minutes.
- Flip vegetables every 2–3 minutes on high heat to develop even char while monitoring for darkening and smoke.
- Move vegetables to medium heat (350–400°F) after initial searing to finish cooking gently without excessive charring.
- Relocate to the cool zone immediately if over-charring begins, allowing gentle finishing while preserving tender texture.
Set Your Grill to Three Temperature Zones
If you’ve ever burned vegetables on one side while leaving them raw on the other, you’ll benefit from creating distinct temperature zones on your grill. I recommend dividing your grill into three areas: a hot zone for hotter searing, a medium zone around 350-400 degrees, and a cool zone with no direct heat.
Start by using a grill thermometer to monitor temperatures accurately. Place your vegetables in the hottest zone first to develop char quickly, then move them to medium heat for even cooking. The cool zone serves as a safety space where you can shift vegetables if they’re cooking too fast.
This zoning approach gives you flexibility and control, preventing burning while ensuring proper char development throughout your grilling session.
Choose Vegetables That Actually Char Well
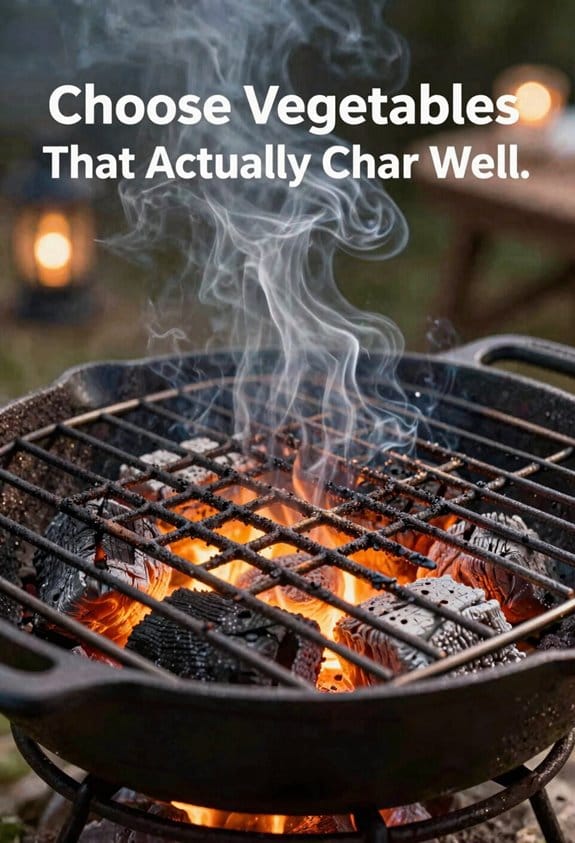
Not all vegetables perform equally well on the grill, so selecting the right ones sets you up for success. I’d recommend choosing hearty vegetables like cabbage, corn, bell peppers, zucchini, onions, and mushrooms because they withstand high heat without falling apart. These seasonal varieties maintain their structure while developing that desirable char.
When selecting vegetables, consider flavor pairings too. Peppers pair well with garlic seasoning, while corn complements herb-infused oils. Thicker cuts work better than thin slices; I suggest slicing zucchini and squash lengthwise, and cutting peppers into quarters lengthwise.
Some vegetables need prep work. Tougher options like cabbage and artichokes benefit from pre-steaming or blanching the day before grilling. This guarantees even cooking and charring while preserving their flavor and texture throughout the grilling process.
Recommended Products

ALL NATURAL - Dehydrated Mixed Vegetables Deluxe Blend of Carrot, Onion, Celery, Bell Pepper, and Tomato

100% natural, all our dried products have only natural ingredient, no additives, preservatives, or artificial flavors.

Includes 46 servings of scrambled egg mix and 40 servings of vegetable stew blend.
Prep Your Vegetables the Day Before for Best Results
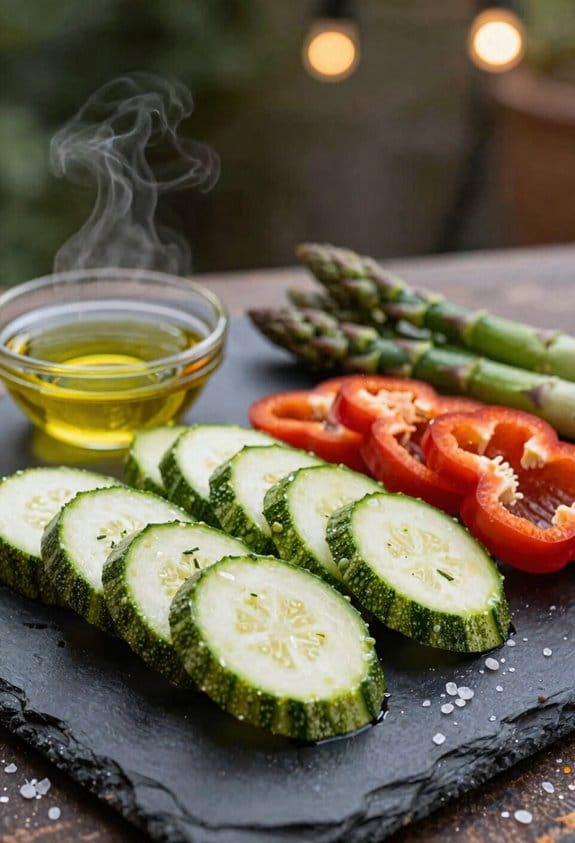
When you’re preparing vegetables for grilling, doing your prep work the day before can make a significant difference in how well they cook and char. I recommend blanching tougher vegetables like cabbage and artichokes the night before, which softens their fibers and guarantees even cooking on the grill. After blanching, I cool them on ice to preserve their texture and color.
For overnight marination, I brush vegetables lightly with olive oil and season them with salt, pepper, and garlic powder. This allows flavors to penetrate deeply. I also maintain my knife maintenance routine before prepping, guaranteeing sharp blades for clean, precise cuts through thick vegetables like zucchini and portobello mushrooms.
Blanch Tough Vegetables for Even Cooking
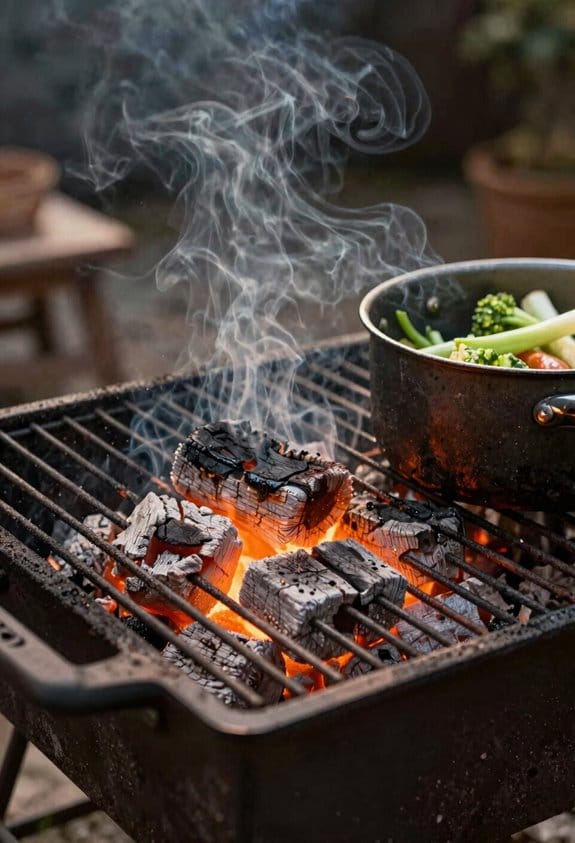
Blanching tough vegetables like cabbage and artichokes before grilling softens their dense fibers, which guarantees they cook evenly across the grill without remaining undercooked inside while the outside burns. I recommend parboil timing of 5-10 minutes, depending on the vegetable’s thickness and density. After blanching, you’ll want to cool them immediately using ice shocking, which stops the cooking process and locks in their color and texture.
This pre-cooking technique prevents the exterior from charring before the interior reaches tenderness. Once cooled, your vegetables are ready for the grill, where they’ll develop beautiful char marks in just a few minutes rather than prolonged cooking that risks burning. This method guarantees consistent, evenly cooked results every time.
Oil Your Vegetables for Better Char and Seasoning
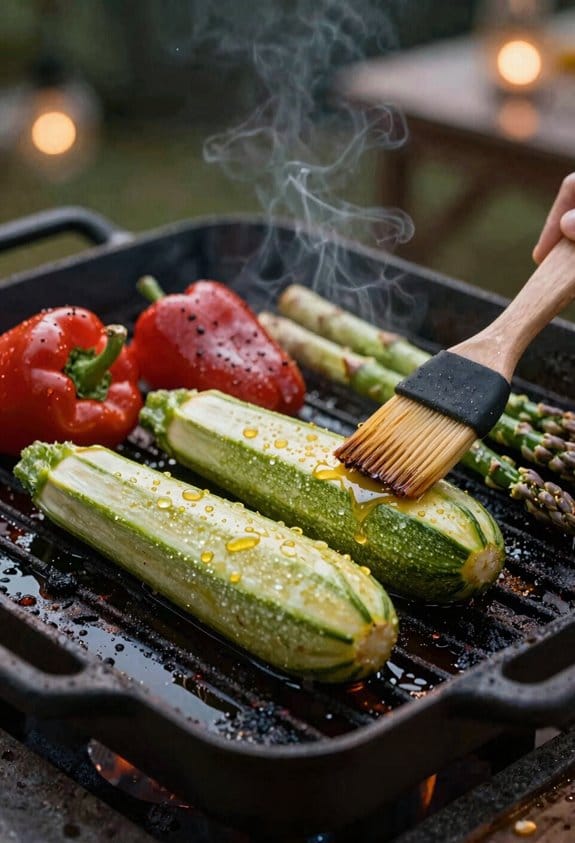
Once your vegetables have cooled from the ice bath, the next step involves coating them with oil, which serves two important purposes for grilling success. First, oil prevents your vegetables from drying out on the hot grates. Second, it helps seasonings stick to the surface, creating better flavor infusion throughout your grilled vegetables.
I recommend using olive oil, which you’ll brush lightly across each piece. For even coverage, you can dunk your vegetables directly into a bowl of oil, ensuring they develop that desirable olive sheen. This coating also contributes to achieving a beautiful char without burning, since oil conducts heat more efficiently than dry surfaces.
Season immediately after oiling with salt, pepper, and garlic powder for best results.
Recommended Products


2025/26 Fresh Harvest, ultra-premium, clean taste, hand harvested in October of 2025 (the olive harvest season lasts from September to February of every year, and is named after the new year). Comes in an elegant 16.9 fl oz glass bottle which is easy to store, easy to handle (you don’t need a dispenser bottle or sprayer as it has a great pouring spout). Great business or personal gift idea. Best Before December 2027

Apply Direct High Heat First for Maximum Char
Position your oiled and seasoned vegetables directly over the hottest zone of your grill, where temperatures reach 375-400 degrees Fahrenheit or higher. This initial placement creates the distinctive char marks you’re after. Your sear timing matters markedly—aim for 2-3 minutes on the hottest zone before rotating or moving vegetables to cooler areas. Coal arrangement determines heat distribution, so make sure your coals are concentrated beneath where you’ll place vegetables first. The intense direct heat sears the vegetable surface quickly, developing that caramelized exterior while locking in moisture inside. Once you’ve achieved visible browning and light char, transfer vegetables to medium-heat zones where they’ll finish cooking through without burning. This two-stage approach gives you maximum char with minimal risk of overcooking.
Flip Every 2–3 Minutes to Build Char Without Burning
Constant flipping throughout the cooking process is what separates perfectly charred vegetables from burnt ones, so I recommend turning your vegetables every 2–3 minutes while they’re on the hottest zones of your grill. This frequent rotation guarantees even heat exposure on all surfaces, creating that desirable blistered exterior without charring into ash.
I watch for timing cues like darkening kernels on corn or browning spots on peppers to signal when flipping is necessary. Adjusting your grill angles slightly during each turn helps expose different surfaces to direct flame. By monitoring your vegetables closely and rotating them consistently, you’ll develop an even char pattern. Once vegetables reach your desired tenderness and char level, move them to cooler zones to finish cooking gently, preventing further burning.
Move Vegetables Between Zones Based on Char Level
As your vegetables develop that desirable char on the hottest zones of your grill, you’ll need to move them strategically to cooler areas to prevent burning. I recommend using visual cues like darkening skin and smoke production as your guides. When vegetables show initial charring, transfer them to medium-heat zones where they’ll continue cooking without excessive burning. Create a time mapping system: spend 2–3 minutes on the hottest zone, then relocate to 350–400 degree areas for an additional 2–3 minutes. This approach builds flavor while protecting vegetables from scorching. Monitor color development closely, since each vegetable burns at different rates. Moving pieces between zones gives you control, ensuring even cooking and ideal char throughout your grilling session.
Fix Burning Vegetables by Moving to Cool Zone
If you notice your vegetables starting to char too quickly or show signs of burning, moving them to the cool zone is your most effective recovery strategy. Transfer the vegetables immediately from the hottest area to your cooler, indirect heat section, where temperatures remain lower and flames can’t reach them directly.
This cooling techniques approach allows residual moisture within the vegetables to continue cooking gently without additional charring. The vegetables will finish cooking evenly while the outer surface stabilizes. Leave them in the cool zone for several minutes, checking periodically. Once they’ve reached your desired tenderness and char level, remove them from the grill. This preventative movement between zones guarantees you achieve that perfect balance between a beautiful char and properly cooked vegetables.
Recommended Products
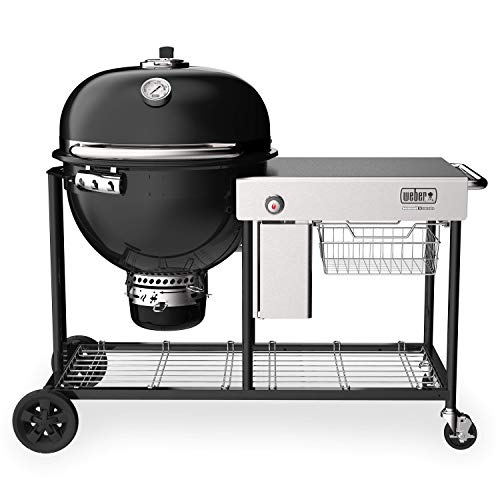
Dual-walled insulation for precise, quick temperature changes
Dual-walled insulation for precise, quick temperature changes

Weber Stainless Steel Genesis Grill includes PureBlu burners with a unique, tapered design, creating a consistent flame and even heat across the grilling surface; Raised flame openings keep food debris falling away, minimizing clogs and corrosion
Restart Undercooked Vegetables on Direct Heat
Sometimes vegetables come off the grill before they’ve cooked through completely, leaving them undercooked and firm rather than tender. When this happens, don’t worry—you can use effective restoration techniques to finish cooking them properly. Return the undercooked vegetables to the hottest zone of your grill, which speeds up the cooking process. This direct heat approach helps you salvage vegetables that need more time without compromising their texture. Monitor them closely during grill timing, flipping every 2-3 minutes to guarantee even cooking. Watch for the vegetables to soften and develop that desirable char. Since they’ve already started cooking, they’ll need less time than fresh vegetables. This method lets you recover undercooked pieces while still achieving tender, slightly charred results.
Frequently Asked Questions
Can I Grill Vegetables Without Blanching Them First, or Is Pre-Cooking Essential?
You don’t need blanching—I’d skip it for tender veggies. Try marinating methods instead for flavor, or consider air frying alternatives if you’re short on time. Raw grilling works fine with proper heat management.
What’s the Best Way to Prevent Vegetables From Sticking to the Grill Grates?
Studies show that properly oiled vegetables reduce sticking by 90%. I’d recommend brushing each piece generously with olive oil and ensuring you’ve thoroughly scraped your grates beforehand—that’s your foundation for success.
How Do I Know When Charred Vegetables Are Done Versus Burnt?
I’ll tell you the vegetables are done when they’ve got beautiful char development with crispy, caramelized edges but still retain tender flesh inside. You’ll notice that desirable flavor contrast—charred exterior against juicy interior—that burnt veggies simply lack.
Can I Use a Grill Basket Instead of Skewers for Smaller Vegetables?
Yes, I’d recommend a grill basket over skewers for your vegetable medley. This perforated pan lets you toss smaller veggies easily, ensuring even charring. It’s simpler than threading skewers and works better than foil packets for achieving that perfect char.
Should I Close the Grill Lid While Cooking Vegetables, and if So, When?
I’ll keep my lid down to a science. I close it during the 3-4 minute intervals to trap smoke and prevent flareups, monitoring timing cues closely. Once you’ve got good char signs, that’s your lid position game-changer.