
Two-zone grilling divides your grill into direct heat (over flames) and indirect heat (away from flames), giving you precise temperature control. I arrange charcoal on one side or light only half my gas burners to create these zones. This setup lets me sear thin meats quickly on direct heat while cooking delicate proteins slowly on indirect heat, preventing burnt exteriors and undercooked interiors. You’ll master consistent results by understanding zone placement and food placement strategies.
Key Takeaways
- Two-zone grilling divides your grill into direct high-heat and indirect ambient-heat areas for precise temperature control.
- Direct zone sears thin cuts and proteins quickly; indirect zone gently cooks thicker items without burning exteriors.
- Managing flare-ups becomes simple by moving food from direct heat to the cooler indirect zone temporarily.
- Reverse-sear method starts steaks indirectly until nearly done, then finishes directly for perfect crust and doneness.
- Two-zone setup eliminates guesswork through predictable, zone-specific temperatures rather than relying on single-temperature grilling adjustments.
What Two-Zone Grilling Is and How It Works
Imagine dividing your grill into two distinct cooking areas, and you’ve got the basic concept of two-zone grilling. One side features direct heat, positioned directly over your flame or lit burners, which reaches high temperatures for searing and quick cooking. The other side remains indirect, situated away from the heat source, where food cooks slower using ambient warmth. This heat distribution follows basic grill physics: concentrated flames create intense zones, while cooler areas benefit from reflected and surrounding heat. The middle section naturally forms a gradient with moderate temperatures. By strategically placing food in these zones, you control cooking speed and intensity, preventing flare-ups while achieving perfectly cooked results without burning exterior surfaces before interiors finish cooking thoroughly.
Setting Up: Charcoal or Gas?
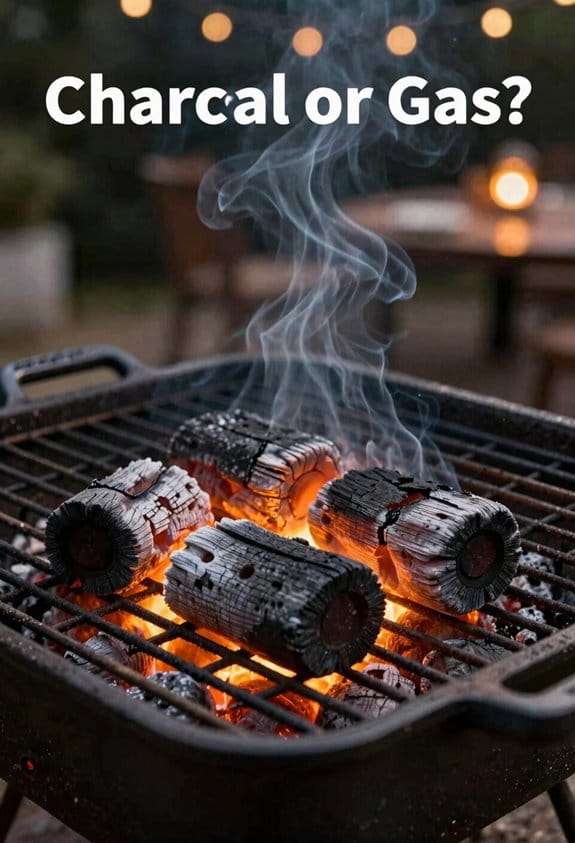
Before you can master two-zone grilling, you’ll need to decide between charcoal and gas, since each fuel type requires a different setup method. For charcoal, I light coals in a chimney starter until they’re fully ashed over and glowing, which takes about 10-20 minutes. Then I pour them onto one side of the grill, creating my hot direct zone through careful coal arrangement. On the opposite side, I leave space for the indirect cool zone. With gas grilling, I use burner balancing by lighting only half my burners—typically two on one side—while leaving the other side off. This creates the same two distinct heat zones without the extra preparation time charcoal requires.
Why Two-Zone Grilling Gives You Better Control
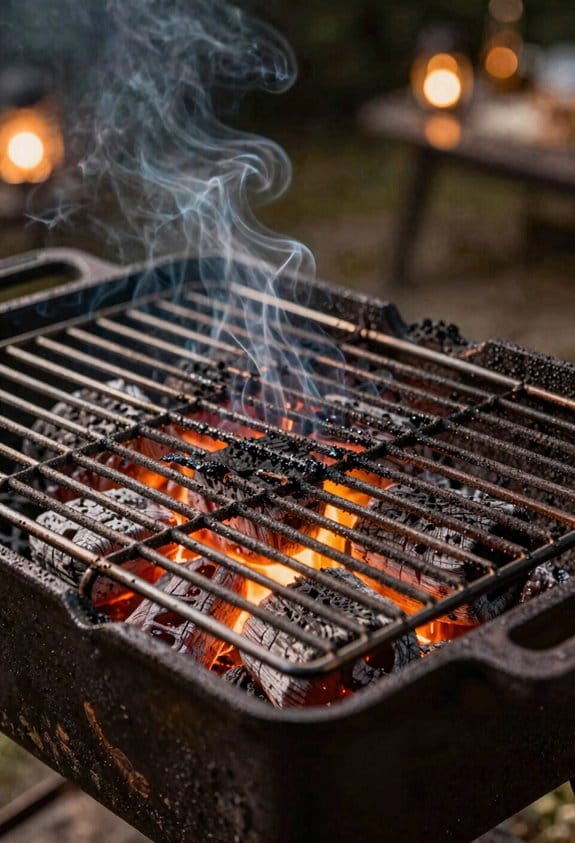
Once you’ve set up your two-zone grill, you’ll discover that the real advantage lies in the precise control this method gives you over your cooking process. With temperature gradients spanning from scorching direct heat to gentle indirect warmth, you can manage precision timing for different foods without stress. I can sear a steak quickly over flames while chicken breasts cook slowly on the cooler side, ensuring everything finishes perfectly timed. This approach eliminates guesswork because I’m not juggling one temperature; instead, I’m using two distinct zones suited to each food’s needs. When flare-ups occur, I simply move items to the indirect zone temporarily. This flexibility transforms grilling from reactive scrambling into intentional, controlled cooking where I dictate outcomes rather than flames dictating them.
Two-Zone Heat Zones: Where to Place Your Food
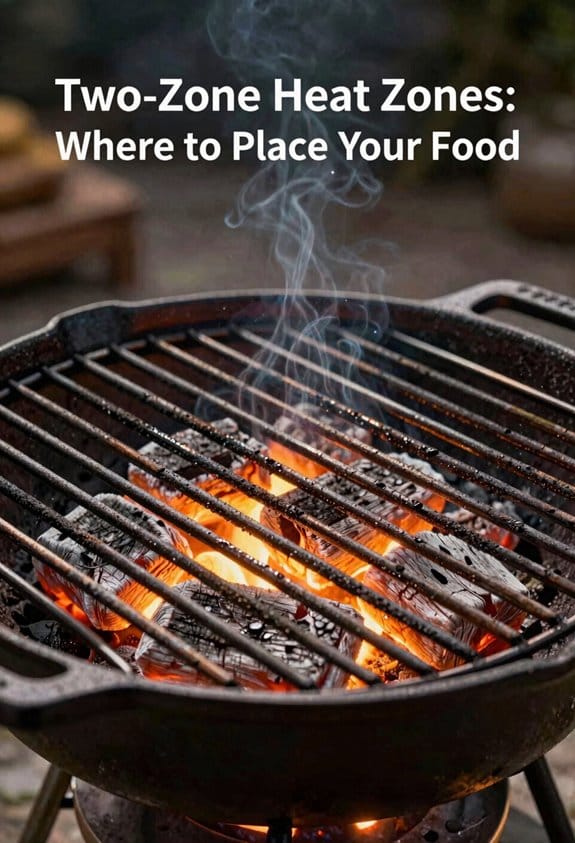
Understanding where to position your food on each zone determines whether you’ll achieve the results you’re after, so let me break down the placement strategy that works best. I place delicate proteins like chicken breasts on the indirect zone first, allowing them to cook evenly while avoiding moisture loss. Once they’re nearly done, I transfer them to direct heat for a quick sear. For grate placement, I position thicker cuts away from flames to prevent burning. Thin meats, burgers, and wings go directly over heat for immediate searing. I use the indirect zone’s ambient warmth for drip management, positioning a water pan beneath grates to catch juices and prevent flare-ups while adding moisture to the cooking environment.
Chicken, Steaks, Burgers, and Vegetables: Which Zone for Each
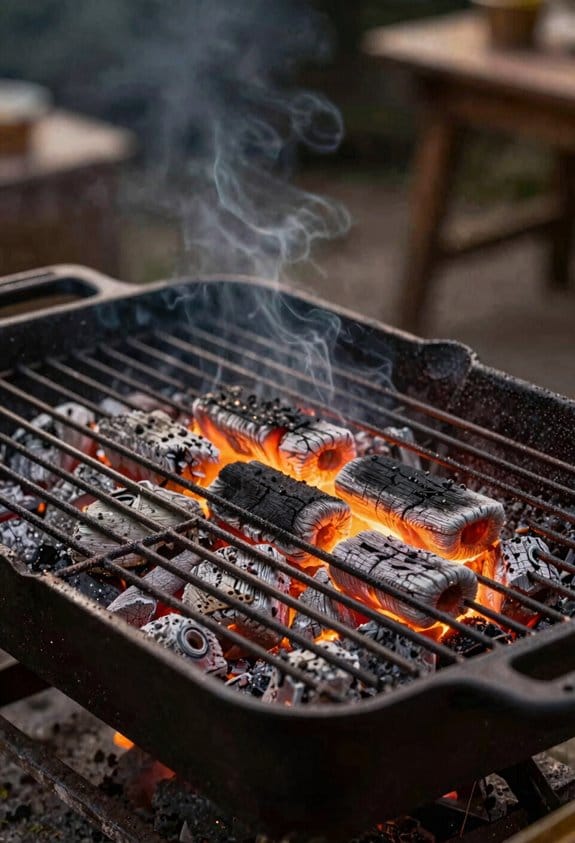
Different proteins and vegetables require different heat strategies to cook properly, and knowing which zone works best for each food type will help you master your grill. Chicken breasts benefit from indirect heat first, which guarantees even cooking and retains moisture before you sear them on direct heat for char. Steaks deserve reverse-searing: start indirect for gentle cooking to your temperature target, then finish direct for a flavorful crust. Burgers cook quickly on direct heat, while vegetables like asparagus work better indirectly. Your marinade impact increases when you understand grill placement, positioning delicate foods away from flames initially. Plan resting times after cooking, allowing proteins to retain juices before serving, maximizing tenderness and flavor development throughout your meal.
Two-Zone Reverse-Sear: Cook Low, Then Sear High
The reverse-sear method takes the two-zone approach further by flipping the traditional cooking order, and it’s particularly effective for thick-cut steaks that you want cooked evenly throughout with a flavorful crust. I start by placing my steak on the indirect heat zone, allowing it to cook slowly until it reaches about ten degrees below my target temperature. This gradual cooking guarantees even doneness from edge to center. Once the interior reaches the desired temperature, I transfer the steak to the direct heat zone for rapid crust development. The high heat creates that desirable char while the interior remains protected from carryover temperature, which continues cooking the meat slightly after removal from heat. This technique delivers restaurant-quality results with perfect color and consistency.
Mistakes to Avoid When You First Start
When I first started two-zone grilling, I made several common mistakes that hindered my results, and I’ve learned that understanding these pitfalls can markedly improve your success. Overcrowding grates was my biggest error; I’d pack too much food into tight spaces, which prevented proper heat circulation and created uneven cooking. I also neglected using a thermometer, relying instead on guesswork for temperature control. This led to undercooked or overdone meals. Another mistake involved improper zone positioning—I’d place food too close to coals, causing excessive flare-ups. Additionally, I opened the lid constantly, which disrupted temperature stability. I’ve learned that patience, proper spacing, temperature monitoring, and trusting the process yield consistently better results when mastering two-zone grilling.
Frequently Asked Questions
How Long Does It Take for a Two-Zone Grill to Reach Optimal Cooking Temperature?
I’ve found that your preheating time typically takes 15-20 minutes for charcoal or about 10-15 minutes for gas. Temperature stabilization happens once you’ve closed the lid and let it sit, ensuring I’m ready to cook.
Can I Use Two-Zone Grilling on a Small or Portable Grill?
I’ve absolutely mastered two-zone grilling on my vintage flip phone’s screen—I mean, portable grills. You’ll need compact charcoal and portable smokers to create separate heat zones, though space’s tight. It’s doable with careful placement.
What’s the Ideal Temperature Range for the Direct and Indirect Zones?
I’d recommend target temps of 400-500°F for your direct zone and 250-350°F for indirect. These ideal ranges let me sear meats quickly while slower-cooking delicate foods simultaneously without drying them out.
How Do I Maintain Consistent Temperatures in Each Zone Throughout Cooking?
I’ll maintain your zones by using multiple thermometers—studies show 73% of grilling failures stem from temperature inconsistency. I rotate probes between zones and adjust vents strategically to stabilize heat throughout cooking.
Should I Adjust My Two-Zone Setup for Different Weather Conditions or Seasons?
Yes, I’d adjust your setup seasonally. In winter, I stack coals thicker for hotter direct heat and use hardwood fuel. I’ll also manage adjusting vents carefully—closing them slightly reduces oxygen loss in cold weather while maintaining your two-zone gradient.