To light your gas grill safely every time, start by inspecting the hose for damage and testing connections with soapy water to catch leaks. Position your grill at least ten feet from buildings on level ground, then open the lid first to let trapped gas escape. Turn all burners off, turn on the gas supply fully, and ignite immediately using an arc lighter. If flames don’t appear within five seconds, shut everything down and wait before retrying. Monitor constantly for flare-ups, keep your fire extinguisher nearby, and follow this exact sequence each time you grill for the thorough details that’ll protect you.
Key Takeaways
- Always open the grill lid first to prevent dangerous gas buildup and potential explosions inside the chamber.
- Turn all burners off before opening the gas supply to prevent premature, uncontrolled gas flow.
- Turn on gas fully, then activate ignition immediately; if no flames appear in five seconds, restart.
- Keep grill at least 10 feet from buildings and maintain a clear 1-meter safety zone around it.
- Monitor constantly during use, keep a fire extinguisher nearby, and allow the grill to cool completely before covering.
Inspect Your Grill and Gas Supply Before Lighting
Before you light your gas grill, you’ll want to inspect both the grill itself and its gas supply system to make certain everything’s in working order. Start by examining hose integrity, looking for cracks, brittleness, holes, and sharp bends that could cause leaks. Check all connectors for scratches or nicks, replacing damaged ones to prevent gas escape. Next, perform regulator testing using a soap-water solution on hoses and the regulator itself; bubbles indicate leaks requiring immediate attention. Verify that the grill’s interior is clear of debris from previous use. If you smell gas during inspection, follow your manufacturer’s specific leak-check instructions. These preliminary steps guarantee safe operation and protect against dangerous gas accumulation before ignition.
Prepare Your Grilling Zone for Maximum Safety
Setting up your grilling zone correctly is essential for preventing accidents and injuries during outdoor cooking. I recommend positioning your grill at least 10 feet away from your house, buildings, garage, or porches to prevent fire hazards. You’ll also want to establish a 1-meter safety zone around the grill, keeping it clear of chairs, toys, and flammable materials.
Consider weather considerations when choosing your location. Avoid windy areas that can affect flame control and spread embers. Make certain your grilling surface has stability by placing the grill on level, flat ground rather than uneven terrain.
Keep children and pets at least 3 feet away from the grilling area during operation. Always use your grill outdoors in well-ventilated spaces only, never indoors or in enclosed areas.
Open Your Grill Lid First: Every Time
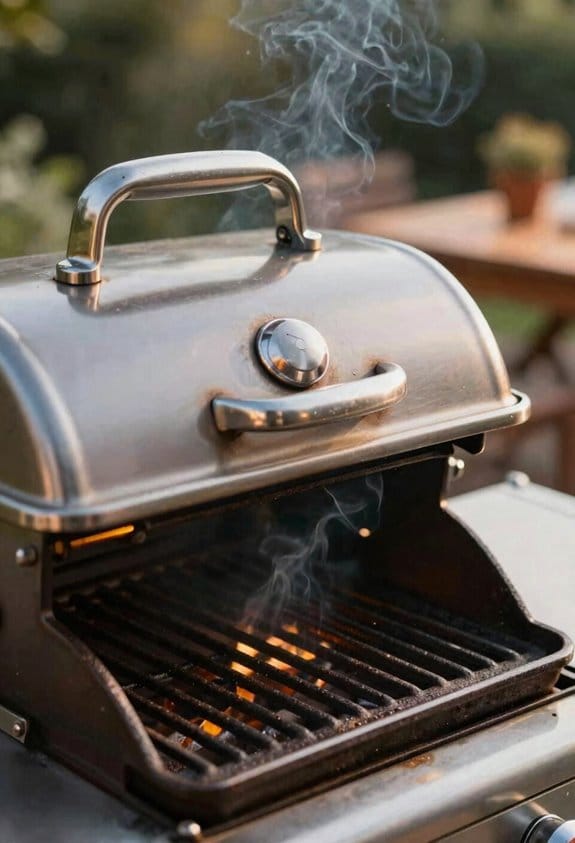
Once you’ve positioned your grill safely away from structures and cleared your grilling zone, you’ll want to open the lid before doing anything else. This simple step prevents dangerous air buildup inside your grill. When gas escapes into a closed space, it creates combustion hazards that can cause sudden flare-ups or explosions when you ignite the burners.
Opening the lid allows accumulated gas to disperse safely into the atmosphere. This practice also lets you check that nothing remains inside from your last grilling session. Make opening the lid your automatic first step every single time, whether you’re using a natural gas or propane grill. It’s a quick habit that considerably reduces risks and guarantees safer grilling.
Follow the Safe Ignition Sequence Step by Step
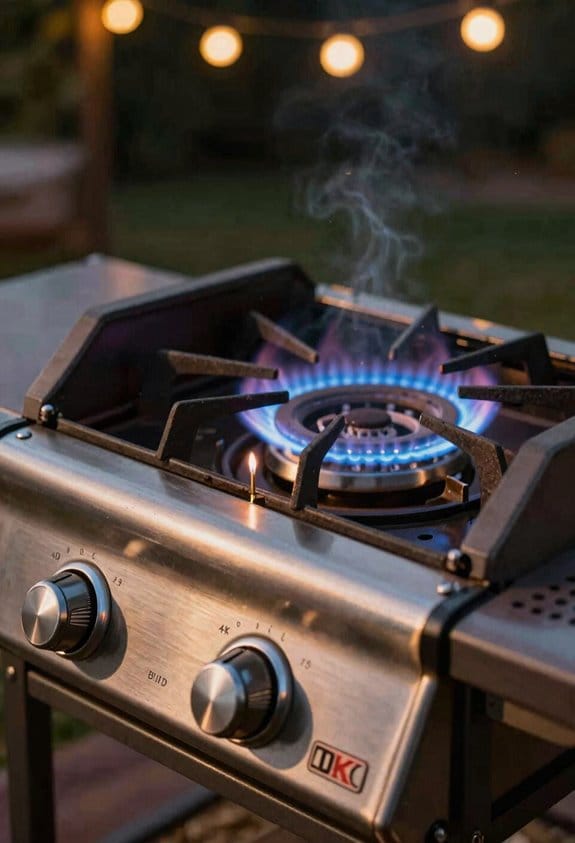
Now that you’ve opened your grill lid and verified your grilling zone is clear, you’re ready to follow the proper ignition sequence, which involves several critical steps performed in the correct order. First, turn all burners to the off position before turning on your gas supply. This valve sequencing prevents gas from flowing prematurely. Next, verify your ignition source is ready—an arc lighter works best since wind won’t affect it. Turn on your gas supply counterclockwise fully, then activate your ignition immediately before adjusting any burner to the lighting position. This sparking order guarantees safe ignition. If flames don’t appear within five seconds, turn everything off and wait one minute before trying again. Never rush this process.
Monitor Your Grill and Prevent Flare-Ups
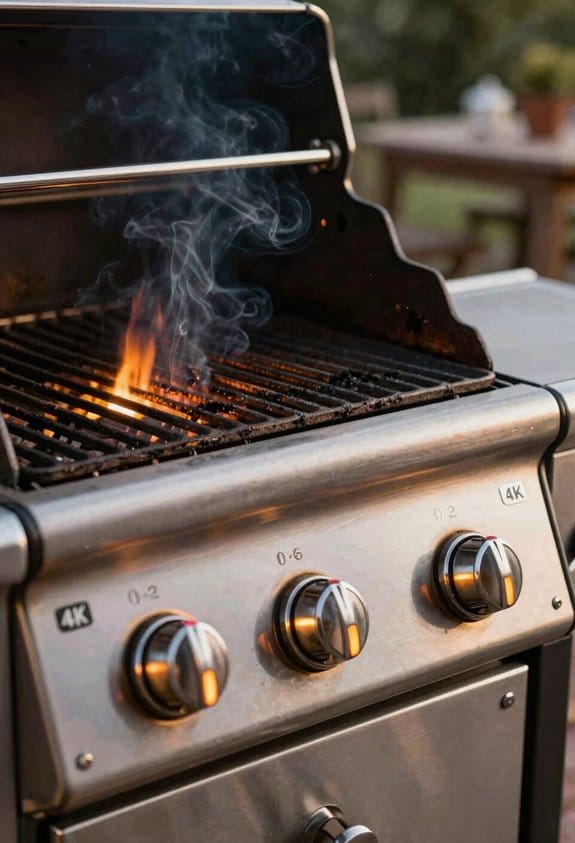
Your grill requires constant attention once you’ve lit it, because unmonitored flames can quickly become dangerous flare-ups that spread across the cooking surface. I monitor my grill by watching for grease accumulation, which ignites when it drips onto hot coals or burners. Grease management prevents most flare-ups, so I keep the cooking grate clean and empty the drip tray regularly.
Wind awareness matters greatly since gusts can shift flames unpredictably and push heat toward nearby objects. I position myself to shield the grill from strong winds when possible. If a flare-up occurs, I turn off the gas immediately and wait for flames to subside before relighting. I never leave my grill unattended, and I keep a fire extinguisher nearby for emergencies.
Shut Down and Maintain Your Grill Properly
After you’ve finished grilling and the flames have died down, the shutdown process matters just as much as the lighting sequence, because proper shutdown prevents gas leaks and prepares your grill for its next use. First, shut off the gas supply by turning the valve clockwise, then turn off each burner. Allow your grill to cool completely before covering it, which typically takes 15–30 minutes. Clean the grates after each use to prevent buildup. Regularly inspect burners for blockages using a pipe cleaner or wire, clearing any debris that restricts gas flow. For seasonal storage, cover your grill and store cylinders upright outdoors away from ignition sources. Schedule component replacement according to your owner’s manual to maintain safe operation year-round.
Frequently Asked Questions
What Should I Do if I Smell Gas but See No Visible Leak?
I’d grab my telegraph and immediately turn off the gas supply. You’ll want to ventilate the area thoroughly, check valves for leaks using soap-water solution, and follow the manufacturer’s leak-check instructions before relighting.
How Often Should I Replace My Grill’s Gas Hoses?
I’d recommend replacing your gas hoses every few years, but you should perform annual inspections for hose cracking, brittleness, and damage. Replace them immediately if you notice deterioration to prevent dangerous leaks during grilling.
Can I Use My Grill in an Enclosed or Covered Space?
Like a bird needs open skies, I’d tell you no—don’t use your grill indoors or on covered balconies. Gas grills require outdoor, well-ventilated spaces. Indoor grilling creates dangerous carbon monoxide buildup that’s hazardous to your health.
What’s the Safest Way to Transport a Propane Cylinder?
I’d transport your propane cylinder upright in your vehicle’s trunk, securing it with straps or a holder. Always keep the valve cap on and make sure it won’t roll or tip during transport.
How Long Should I Wait Before Relighting After Flame Extinguishment?
I’d tell you to hold your horses—when your flame dies, I recommend waiting 5-15 minutes before relighting. This wait time lets the gas purge completely, preventing dangerous flare-ups when you restart.