I control pizza oven temperature by mastering five core techniques. First, I arrange wood in a pyramid shape and start with kindling for quick ignition. Next, I preheat for at least 45 minutes while monitoring floor temperature with an infrared thermometer. I manage airflow through damper adjustments and create hot and cool zones by positioning my fire strategically. I add wood gradually in small amounts to avoid temperature spikes, and I rake embers across the floor for even heat distribution. Understanding these methods reveals deeper strategies for perfect pizza every time.
Key Takeaways
- Monitor floor temperature with an infrared thermometer and adjust fuel additions to maintain your target cooking temperature consistently.
- Control airflow by opening or partially closing the chimney damper to regulate draft and raise or lower heat intensity.
- Add wood gradually in small pieces rather than large logs to prevent temperature spikes and maintain steady, even heating.
- Rake and redistribute embers across the oven floor to create uniform heat distribution and eliminate hotspots during cooking.
- Position your fire to one side to create separate hot and cool zones, allowing flexible temperature management for different dishes.
Master the Basics: Arrange Wood and Choose Kindling
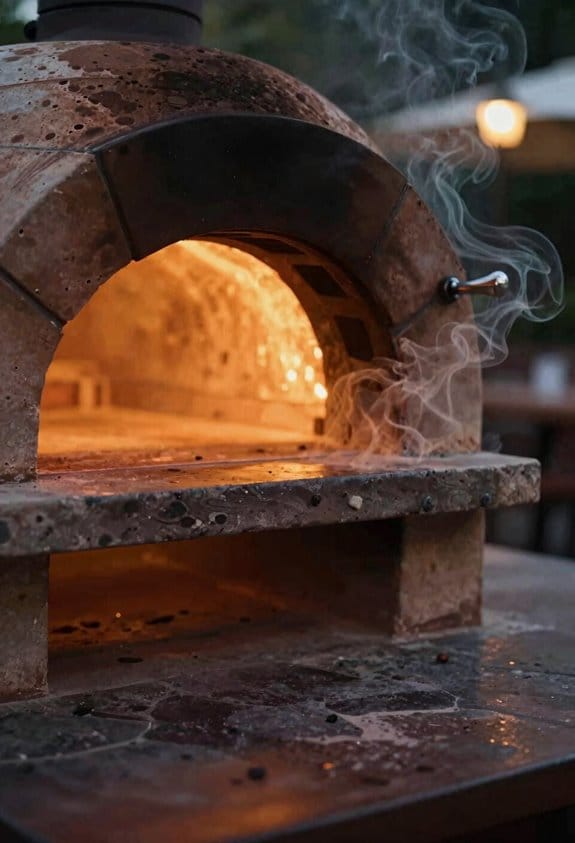
Since you’re building a fire in a wood-fired pizza oven, you’ll want to start by arranging your wood in a pyramid shape, which creates the airflow your fire needs to burn efficiently and reach the high temperatures required for cooking pizza. Begin with hand tied kindling, which ignites quickly and provides a strong initial flame. Once this kindling catches, gradually add seasoned softwood pieces that burn hot and clean. After your softwood establishes a solid base, shift to larger hardwood logs like oak or hickory, which provide sustained, consistent heat for extended cooking sessions. This progression from small to large pieces allows your fire to develop properly, ensuring steady temperature rise without overwhelming your oven’s chamber with excessive smoke or unstable flames.
Preheat Your Oven for 45 Minutes Minimum
After you’ve built your fire and it’s burning steadily, you’ll need to let your oven preheat for at least 45 minutes before you start cooking pizza. This extended preheat time serves multiple purposes, including oven seasoning and moisture control. As your oven heats gradually, the thermal mass absorbs and distributes heat evenly throughout the chamber and floor. This process also allows any residual moisture in the brick or stone to evaporate completely, preventing steam pockets that could affect cooking quality. During preheating, monitor the temperature using your infrared thermometer to make certain the floor reaches your target range. Once you’ve reached the desired temperature and maintained it consistently for several minutes, your oven’s ready for pizza preparation.
Control Temperature With Your Damper and Vents
You’ll find that managing your oven’s damper and vents gives you precise control over the temperature inside your pizza oven. Opening your chimney damper increases airflow, which raises the temperature quickly. Conversely, closing it reduces heat and maintains lower temperatures. I recommend partially closing the damper halfway after initial smoke to speed up preheating. This vent choreography—the strategic adjustment of openings—lets you fine-tune your cooking conditions. Draft balancing, which involves coordinating damper position with vent openings, guarantees even heat distribution throughout your oven. Using the oven door also helps retain heat for lower temperature cooking. By monitoring how these components work together, you’ll achieve the exact temperature needed for perfect pizzas every time.
Measure Heat Using Infrared Thermometers and Flame Signals
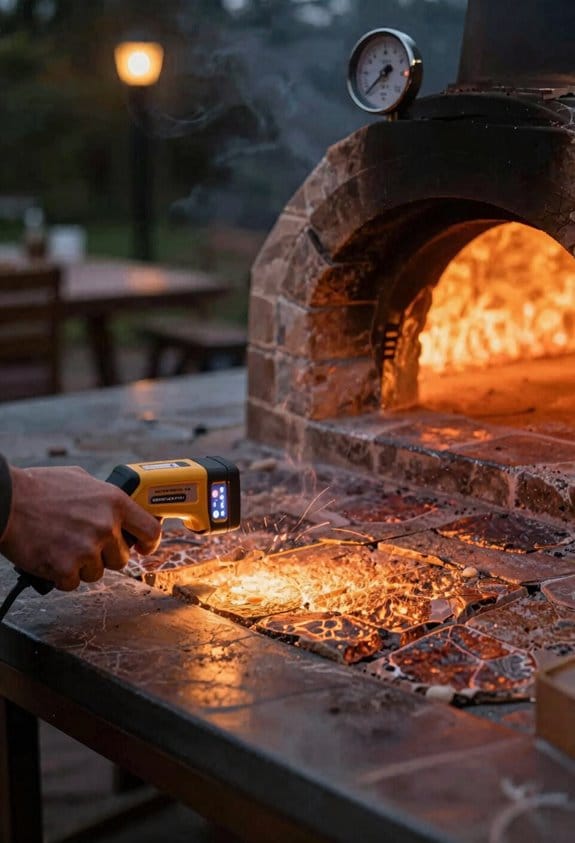
Accurate temperature measurement is essential for achieving consistent results in your wood-fired pizza oven, and I’ve found that combining infrared thermometers with visual flame observation gives me the most reliable readings. Infrared thermometers, sometimes called laser pyrometers, let me measure the pizza floor and chamber temperature without inserting probes into the oven. I point the device at the stone surface and get an instant reading, which helps me verify that I’ve reached my target temperature range.
Beyond instruments, I watch the flames carefully. Small flames indicate lower temperatures around 300-400°F, while larger, more vigorous flames suggest higher heat. I look for rolling flames that lick over the top of the oven, signaling balanced, even heating perfect for pizza cooking. This combination of technology and observation guarantees my oven maintains peak temperature throughout the cooking process.
Maintain Steady Heat by Adding Wood Gradually
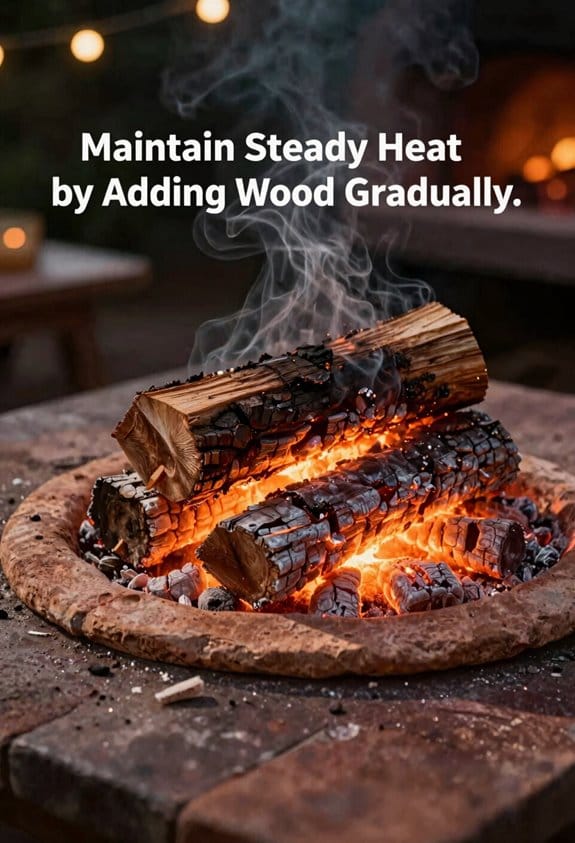
Keeping your wood-fired pizza oven at a consistent temperature requires careful fuel management, and the key is adding wood in small amounts rather than loading large quantities at once. I recommend using a slow feed approach with staggered additions of kindling and hardwood throughout your cooking session. This technique prevents dramatic temperature swings that can ruin your pizza’s crust and toppings.
When you add fuel gradually, the fire maintains steady heat without sudden spikes or drops. Monitor your flame size and floor temperature regularly, replacing burned wood before the heat dips markedly. Small, consistent additions keep your oven stable at your target temperature range, whether you’re cooking at medium or high heat. This disciplined feeding method guarantees better cooking results and more predictable outcomes.
Position Your Fire to Create Hot and Cool Zones
By positioning your fire strategically to one side of the oven, I can create distinct temperature zones that give me flexibility in how I cook different foods. When I arrange the fire toward one corner, I develop corner gradients—areas where temperature shifts gradually from extremely hot near the flames to cooler spots across the oven floor. This setup lets me establish ember islands, concentrated pockets of heat that I can manage independently. I can cook pizzas in the hottest zone while simultaneously preparing other dishes in moderate areas. By using a fire rake to move coals and manage the fire’s position, I control which regions receive direct heat and which remain cooler, allowing simultaneous cooking of items requiring different temperatures.
Rake Embers Across the Floor for Even Coverage
Once you’ve positioned your fire to one side and created temperature zones, spreading your embers across the oven floor becomes essential for achieving more uniform heat distribution. I use a fire rake to perform what I call embers choreography—carefully moving hot coals from the concentrated fire area across the floor’s surface. This ash redistribution process guarantees that heat reaches all cooking areas, preventing cold spots where food might cook unevenly. By spreading embers methodically, I create consistent temperatures throughout the chamber. I’m careful not to disturb the coals excessively, as this can disrupt their heat generation. Regular raking maintains steady temperatures and supports even pizza cooking, making this technique fundamental to successful oven management.
Recognize Rolling Flames as Your Readiness Signal
As your wood-fired pizza oven reaches the proper temperature, the flames inside tell you exactly what’s happening. When you see rolling flames licking over the top of your oven’s interior, you’ve found the sweet spot for balanced pizza cooking. These visual cues indicate that heat’s distributed evenly across the floor and chamber.
Pay attention to sound changes too—the crackling intensifies as temperatures rise. Small, quiet flames suggest lower temperatures around 300-400°F, while larger, more active flames indicate higher heat. The rolling motion you’re watching means flames are circulating properly, creating consistent cooking conditions.
Before placing your pizza, wait for this rolling flame pattern to stabilize. It’s your reliable readiness signal that the oven’s prepared for cooking. This visual indicator beats guessing and guarantees better results every time.
Stabilize Temperature Fluctuations Before They Derail Your Cook
Temperature swings in your wood-fired pizza oven can ruin a perfectly timed cook, so understanding how to prevent them is essential to your success. I’ve found that adding wood gradually in small amounts prevents dramatic heat fluctuations that throw off your timing. Rather than loading large quantities at once, I feed the fire steadily and consistently, allowing temperatures to remain stable throughout the cooking process.
Weather adjustments matter too. On windy days, I insulate doorways and adjust vents more carefully since external air affects your oven’s internal temperature. I also spread embers evenly across the floor to create uniform heat distribution. By monitoring your fire closely and making minor fuel adjustments rather than major ones, you’ll maintain the consistent heat necessary for perfectly cooked pizzas every single time.
Frequently Asked Questions
What’s the Difference Between Standard Stones and Saputo Stones for Pizza Floor Temperature?
I’ll tell you: Saputo stones absolutely dominate with their insane 850°F capacity versus standard stones’ measly 750°F. They’ve got superior thermal conductivity and lower surface porosity, so they’re basically pizza-cooking superheroes.
How Do I Know When My Oven Has Reached the Ideal Peak Temperature of 400-450°C?
I’ll tell you your oven’s reached peak temperature when you’ll see the brick’s color change to whitish and hear a subtle roaring sound from the flames. Use an infrared thermometer to confirm it’s hit 400-450°C precisely.
Can I Cook Multiple Dishes Simultaneously at Different Temperatures in One Oven?
Yes, you can—if you’re willing to master the art of patience. I’d recommend layered scheduling and thermal zoning: cook high-heat pizzas first, then shift to lower-temperature dishes as your oven cools.
How Often Should I Replace Wood Fuel to Prevent Temperature Drops During Cooking?
I’d recommend adding wood at a steady fire rhythm—small amounts every few minutes—rather than large chunks at once. You’ll also want to manage ash regularly so it doesn’t suffocate your flames and cause temperature dips.
What’s the Best Technique for Transitioning From High Heat Pizza Cooking to Lower Temperatures?
I’d gradually close your damper halfway to reduce airflow while spreading embers across the floor for even heat distribution. This ember management technique lets you shift smoothly from pizza’s high heat to lower cooking temperatures.