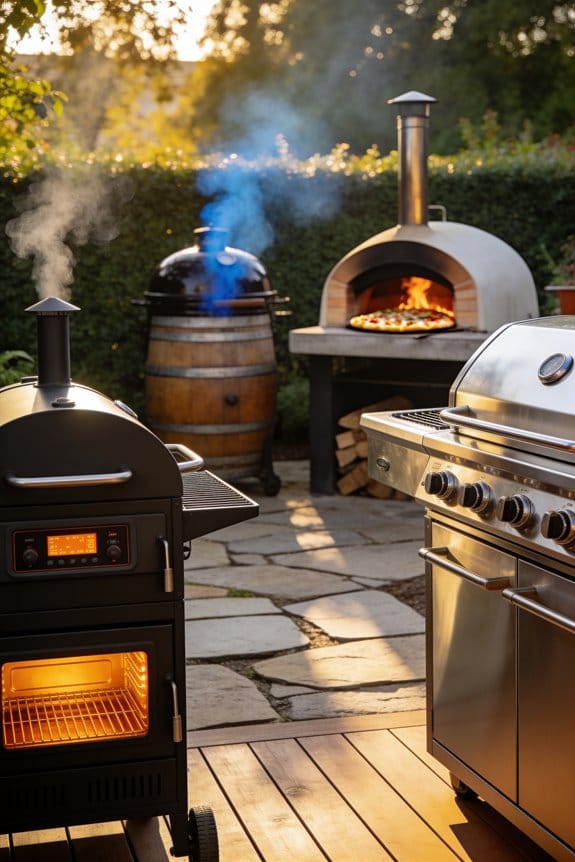
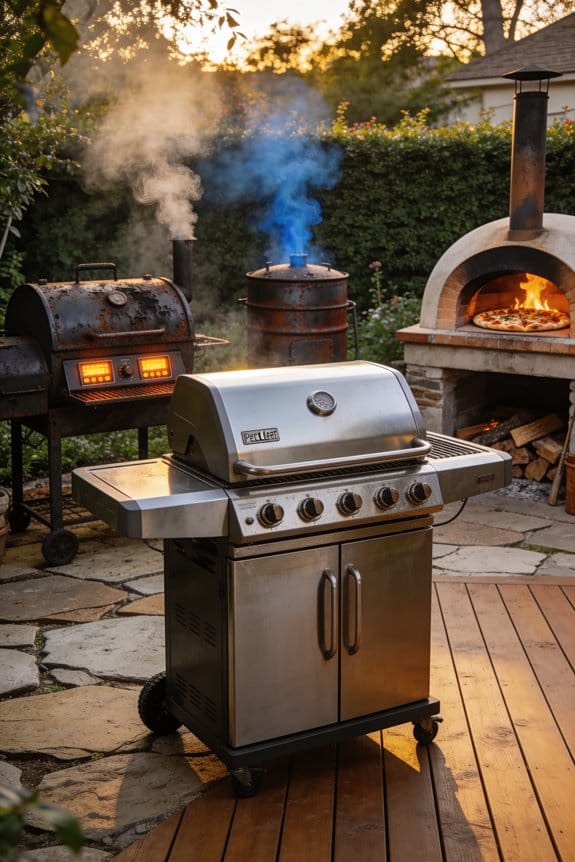

I’ve learned that preventing seafood from sticking requires three critical steps: start with a completely clean grate, then oil it while hot using high-heat oil and tongs with a paper towel, and finally preheat until you see heat shimmering above the surface. Pat your seafood dry before grilling, since moisture creates steam that bonds flesh to metal. Sear quickly on direct heat so a golden crust forms and releases naturally. Understanding the specific techniques for different fish types will transform your grilling results.
Key Takeaways
- Start with clean grates, then oil them while hot using high-heat cooking oil and tongs.
- Preheat your grill to high heat until you see visible heat shimmering above the grates.
- Pat seafood completely dry with paper towels before grilling to remove surface moisture.
- Sear quickly on direct high heat to form a golden crust that releases naturally.
- Wait until the sear forms completely before flipping to prevent tearing and sticking.
Start With a Spotless Grill Grate
Before you even think about placing seafood on your grill, you’ll want to clean those grates thoroughly, because even small amounts of leftover food and grease from previous grilling sessions will cause your delicate fish to stick. I recommend a routine inspection of your grates before each grilling session to catch any buildup early.
Use a grill brush with a scrubber pad to remove residue quickly. If you don’t have a brush available, crumple aluminum foil into a ball and use tongs to scrape the grates. Heat your grill first, then scrape away burnt food more easily.
For porcelain maintenance on ceramic grates, avoid steel brushes that can damage the surface. Gentle scrubbing with appropriate tools prevents sticking while preserving your grill’s condition.
Oil Your Grates While They’re Hot
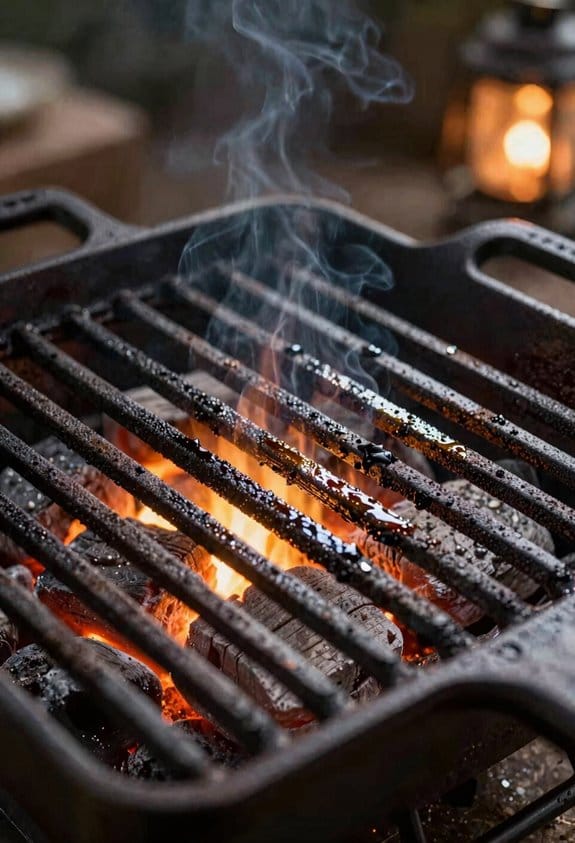
Once you’ve cleaned your grates, you’ll want to season them with oil while they’re still hot, which creates a protective non-stick surface that helps prevent your seafood from clinging to the metal. I recommend using high-heat cooking oils like vegetable or canola oil, since they handle hot temperatures without smoking excessively. To apply the oil safely, I wad a paper towel, dip it in your chosen oil type, then grip it firmly with tongs. I drag the oily towel quickly across the hot grates, moving in one direction to make certain even coverage. This seasoning longevity technique works best when performed just before placing your seafood on the grill, maximizing the non-stick protection for delicate fish and shrimp.
Preheat Until the Grill Screams
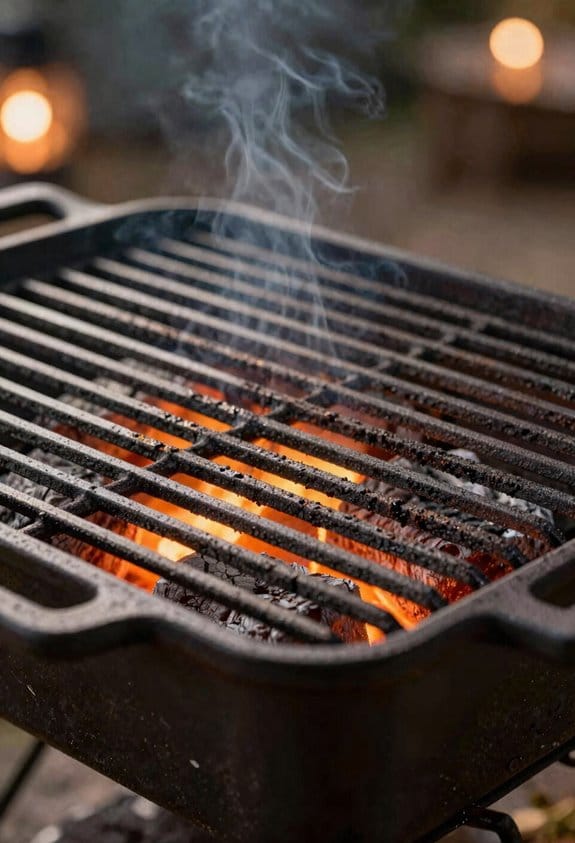
The moment you’ve oiled your grates, it’s time to let your grill reach its peak temperature, which means turning the heat up to high and waiting until the grill becomes extremely hot. This preheat warning exists because hot grates create an immediate sear on seafood, preventing sticking before flesh adheres to metal.
I recommend waiting until you hear what I call the thermal soundscape—that subtle sizzling and crackling indicating proper heat. You’ll notice heat shimmering visibly above the grates. This extreme temperature causes moisture on seafood to evaporate instantly, forming a protective barrier between food and grill surface.
Patience during preheating matters notably. Adding seafood too early, before the grill screams hot, guarantees sticking and torn skin. The investment of a few extra minutes guarantees successful, stick-free grilling results every time.
When to Use Lower Temperatures vs. High Heat?
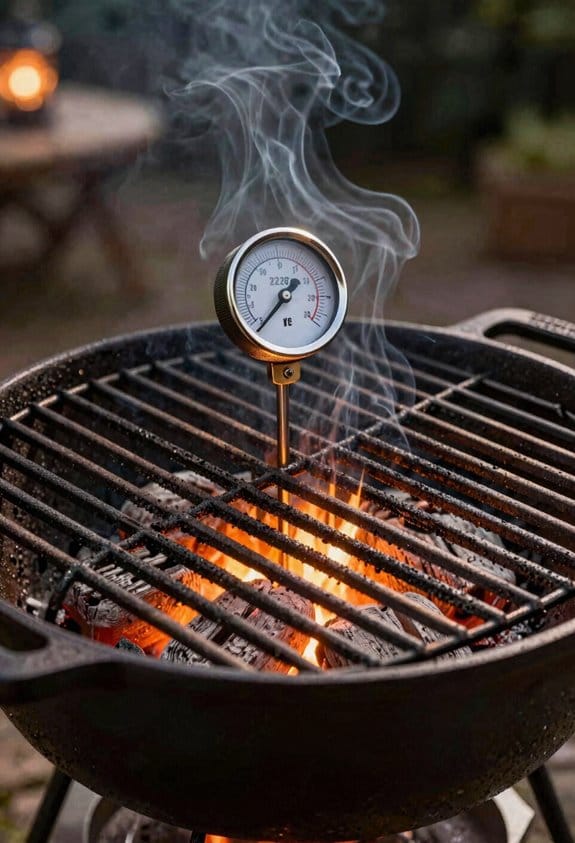
Mastering temperature control separates successful seafood grilling from disappointing results, and I’ve found that different types of seafood require different heat levels to prevent sticking and burning. For delicate fish like cod or sole, I use lower temperatures with indirect heat, which prevents the exterior from charring before the interior cooks through. Thermal gradient planning—positioning food away from direct flames—allows medium rare timing without surface damage. Conversely, heartier seafood such as salmon or swordfish benefits from high direct heat that creates a seared crust for easy release. The key is matching heat intensity to your seafood’s thickness and fat content. Lean fish need gentle warmth, while fatty varieties tolerate aggressive searing that prevents adhesion and guarantees a flavorful result.
Pat Your Seafood Completely Dry
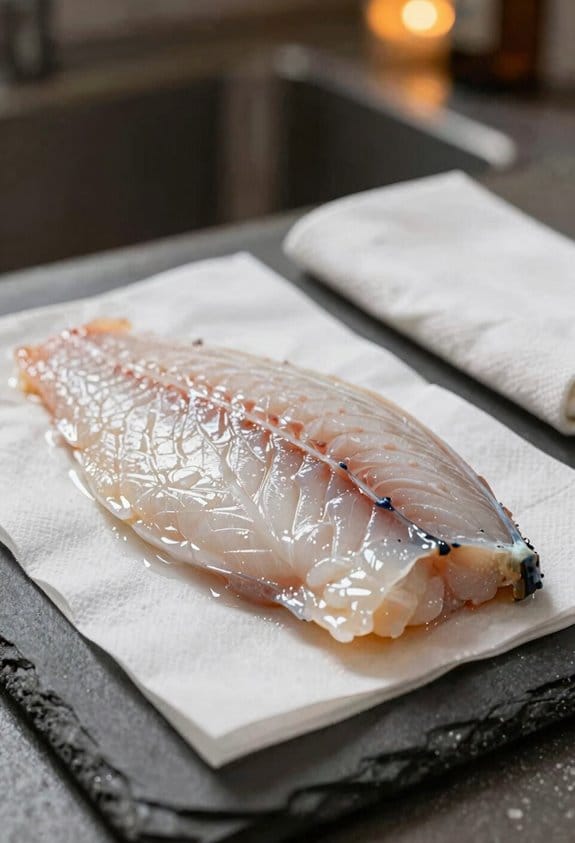
Before you place seafood on the grill, I always pat it completely dry with paper towels, since moisture is one of the biggest culprits behind sticking. When fish or shrimp contains excess water on its surface, that moisture prevents proper contact between the seafood and the hot grates, which ironically causes adhesion problems instead of preventing them.
I use dry towels to remove all surface moisture thoroughly. This moisture removal step takes only seconds but makes a significant difference in your results. The drier your seafood’s exterior, the better it’ll sear and release from the grates naturally. Pat gently but firmly, working across the entire surface until no wet spots remain. This simple preparation technique, combined with properly oiled and heated grates, virtually eliminates sticking issues.
Sear Quickly on Direct Heat for Release
Once you’ve removed that surface moisture, you’re ready for the next critical step: getting a good sear on your seafood. I place my fish or shellfish directly over high heat, which creates rapid caramelization on the exterior. This process takes just minutes and produces instant crusting that prevents sticking.
The intense heat forms a protective barrier between your seafood and the grates. When your fish develops this golden crust, it releases naturally from the grill surface. I don’t try to move it prematurely; instead, I wait until that sear forms completely before flipping.
This searing technique works because the high temperature causes proteins to bond and contract, creating separation from the grates. Once that happens, your seafood comes away cleanly without tearing or sticking problems.
Use Indirect Heat for Delicate Fish
While direct heat creates that protective sear we discussed, delicate fish varieties require a different approach to prevent burning and guarantee even cooking throughout. I recommend using heat zoning, which means positioning your fish away from the hottest part of your grill. This indirect smoking technique allows gentle, consistent cooking without charring the exterior.
To set up heat zoning, I light only one side of my grill, leaving the other side unlit. I place delicate fish on the cooler zone, where residual heat cooks it slowly and evenly. The fish benefits from surrounding warmth without direct flames underneath.
This method works particularly well for thin fillets and delicate species. You’ll notice the fish cooks through without developing that burnt crust that occurs with high direct heat, resulting in tender, perfectly cooked seafood.
Avoid Common Seafood Grilling Mistakes
Even with the right heat setup, many people still struggle with seafood sticking to their grates, and I’ve found that understanding the most common mistakes helps prevent frustration before it starts. Overcrowding fillets on the grill reduces air circulation and prevents proper searing, which causes sticking. I’ve also noticed that relying too heavily on glaze reliance can backfire because sugary coatings burn before the fish cooks through, creating adhesive residue. Another mistake I see frequently is adding seafood to insufficiently preheated grates. The fish needs that intense initial heat to develop a crust that naturally releases. Additionally, skipping the oil step on your grates removes the essential non-stick barrier that seasoned surfaces provide. These preventable errors transform a simple cooking task into a messy, disappointing experience.
Frequently Asked Questions
Can I Use Butter Instead of Cooking Oil to Lubricate My Grill Grates?
I’d caution against butter—it’s like trying to build with sand instead of concrete. Dairy concerns make butter problematic; it’ll burn and smoke at high grill temps. I’d recommend cooking oil or butter alternatives designed for high heat instead.
How Often Should I Replace My Grill Brush for Optimal Cleaning Performance?
I’d recommend replacing your grill brush every season or when bristles fray. Proper brush storage—keeping it dry in a covered area—extends its life and guarantees you’re getting peak cleaning performance each time you grill.
What’s the Best Oil Type to Use for Seasoning Hot Grates?
I’d recommend using a neutral flavored oil with a high smoke point, like vegetable or canola oil. They won’t impart unwanted flavors and won’t burn when you’re seasoning those hot grates quickly with your oiled towel.
How Long Should Seafood Stay on the Grill Before Flipping?
I’ve learned that seafood’s a delicate dance on flames—you’ll flip when it releases naturally, usually 2-3 minutes per side. Watch for that golden crust; it’s your flip cue. Grill timing’s vital; don’t force it early or you’ll tear the flesh.
Can I Grill Frozen Seafood Directly, or Must It Thaw First?
I’d recommend thawing your seafood first—frozen fish won’t cook evenly. Ice glaze effects cause uneven heat distribution and sticking. Use proper thawing methods like refrigeration overnight or cold water submersion for best results.