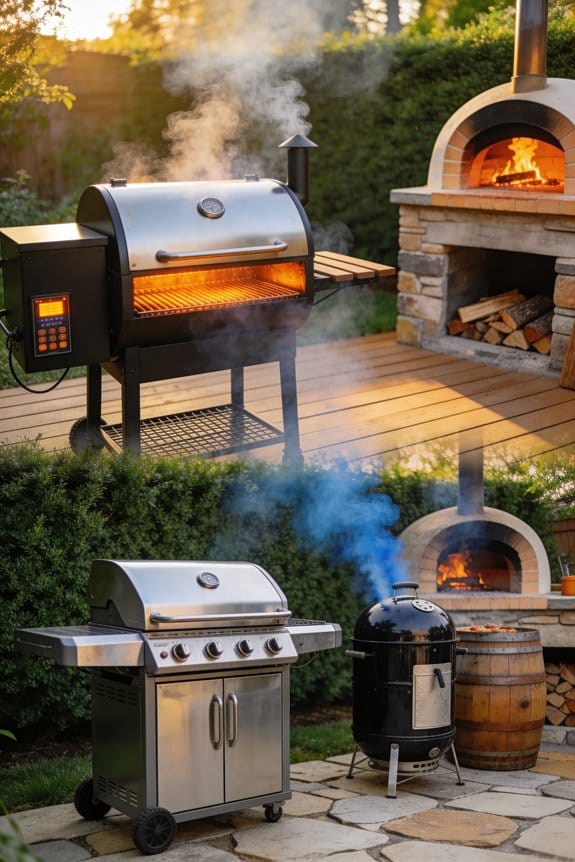
To convert your propane grill to natural gas, you’ll need to replace the LP orifices with larger natural gas orifices, swap the propane regulator for a natural gas regulator, and reconnect the hose assembly. After disassembling your grill’s internal components and making these swaps, you’ll reassemble everything and test each burner individually. Proper flame adjustment—mainly blue with minimal yellow—ensures peak combustion. The specific steps for your model vary considerably.
Key Takeaways
- Turn off all control knobs, close the LP tank valve, and disconnect the propane tank from the regulator completely.
- Replace all LP orifices with larger natural gas orifices designed for lower pressure and reduced BTU output per burner.
- Swap the LP regulator and hose assembly for a natural gas regulator, checking orientation and using Teflon tape on fittings.
- Perform leak detection using soapy water on all connections after installation to ensure no gas escapes from the system.
- Test each burner individually, observing for blue flames with minimal yellow tips and adjusting air shutters for optimal combustion.
Prepare Your Grill for Propane-to-Natural-Gas Conversion
Before you begin converting your propane grill to natural gas, you’ll need to safely disconnect your current propane system and prepare the grill’s interior for the conversion process. Start with a thorough safety checklist: turn off all control knobs and close the LP tank valve completely. Your disconnection procedure should include removing the propane tank from the grill and disconnecting it from the regulator. Next, open the grill’s lid and remove the warming rack, cooking grates, and flame tamers to access internal components. Remove the hitch pins and carryover tubes from the burners, which gives you full access to the valve assembly. Before proceeding further, verify that a natural gas line is available in your neighborhood, ensuring your conversion will be feasible.
Replace LP Orifices With Natural Gas Orifices

Now that you’ve exposed the valve assembly, I’ll help you understand the critical step of replacing the orifices, which are the small openings that control gas flow to each burner. Orifice sizing directly determines how much gas reaches each burner, and using the wrong size will cause improper flame or inadequate heat. Natural gas requires larger orifices than propane because it operates at lower pressure and produces fewer BTUs. You’ll notice the natural gas orifices are visually larger than their propane counterparts. Material compatibility matters too; make certain your replacement orifices match your grill’s specifications. Save your original LP orifices in case you ever revert to propane. Repeat this replacement process for every burner assembly on your grill before proceeding to reassembly.
Swap in the Natural Gas Regulator and Connect the Hose

With your orifices replaced, you’re ready to swap the regulator, which is the device that controls gas pressure flowing from the supply line to your burners. First, use a wrench to disconnect the LP regulator hose assembly from the manifold, then save the LP manifold connection in case you later revert to propane. Next, install your natural gas regulator and hose assembly by checking the regulator orientation to make certain it’s positioned correctly for natural gas operation. Some regulators have a plunger you’ll need to flip for the gas type. Attach the natural gas hose with the shut-off valve and fittings, using Teflon tape on NPT fittings for proper sealing. After connecting everything, perform leak checking by applying soapy water to all connections and looking for bubbles that indicate gas escapes.
Reassemble Burners, Grates, and Control Components

Once your natural gas connections are secure and leak-tested, you can begin reassembling the components you removed earlier. Start by positioning the tube burners back into the firebox, ensuring the ports face upward over the valve stems. Secure each burner to its bracket using the hitch pins you saved. Next, reattach the carryover tubes and fasten them with hitch pins. Replace the flame tamers, cooking grates, and warming rack in their original positions. Press the control knobs firmly back onto the valve stems, then perform aesthetic touch ups by adjusting the bezels so each knob moves freely without resistance. Before operating, conduct safety checks by verifying all connections and testing burner ignition with proper flame adjustment.
Test Your Burners and Adjust Flame Settings

After you’ve reassembled all the components and verified that your natural gas connections are secure, the final step involves testing each burner to confirm it operates correctly with the new fuel source. Turn on the gas supply and ignite each burner individually, observing the flame coloration—you should see a mainly blue flame with minimal yellow tips, indicating proper combustion. Check pilot stability by ensuring it remains lit without flickering excessively. Adjust the air shutter on each burner to optimize the flame appearance and heat distribution across the cooking surface. Make fine adjustments to the control knobs, verifying that flames respond smoothly from low to high settings. Proper flame behavior confirms your conversion is complete and functioning safely.
Frequently Asked Questions
Can I Revert My Grill Back to Propane After Converting to Natural Gas?
Yes, you can revert to propane. I’ve saved the LP orifices and manifold connection during conversion. Simply swap the natural gas regulator back to the LP regulator using reversible fittings, then reinstall the original propane orifices.
What Is the Cost Difference Between Hiring a Professional Versus DIY Conversion?
Professional preparation poses pricey labor costs—typically $150-$300—while DIY conversion delivers substantial parts savings through self-installation. You’ll only invest in conversion kits, avoiding technician fees entirely.
Will My Grill’s Cooking Performance Change After Converting to Natural Gas?
Yes, you’ll notice differences. Natural gas produces lower BTUs and different flame characteristics than propane. You’ll experience slower heat distribution and require longer preheat times, though you’ll still achieve satisfactory grilling results.
How Often Should I Perform Maintenance on a Natural Gas Grill?
I’d recommend an annual inspection of your natural gas grill’s connections and regulator, plus seasonal cleaning of grates and burners. This keeps everything running safely and efficiently throughout the year.
What Safety Precautions Should I Take Before Starting the Conversion Process?
Before I start converting my grill, I’ll wear gloves for protection, check ventilation in my workspace, use a gas detector to monitor for leaks, and make certain all shutoff valves are accessible and functional throughout the process.